
1. Briefing the space, the use and the budget
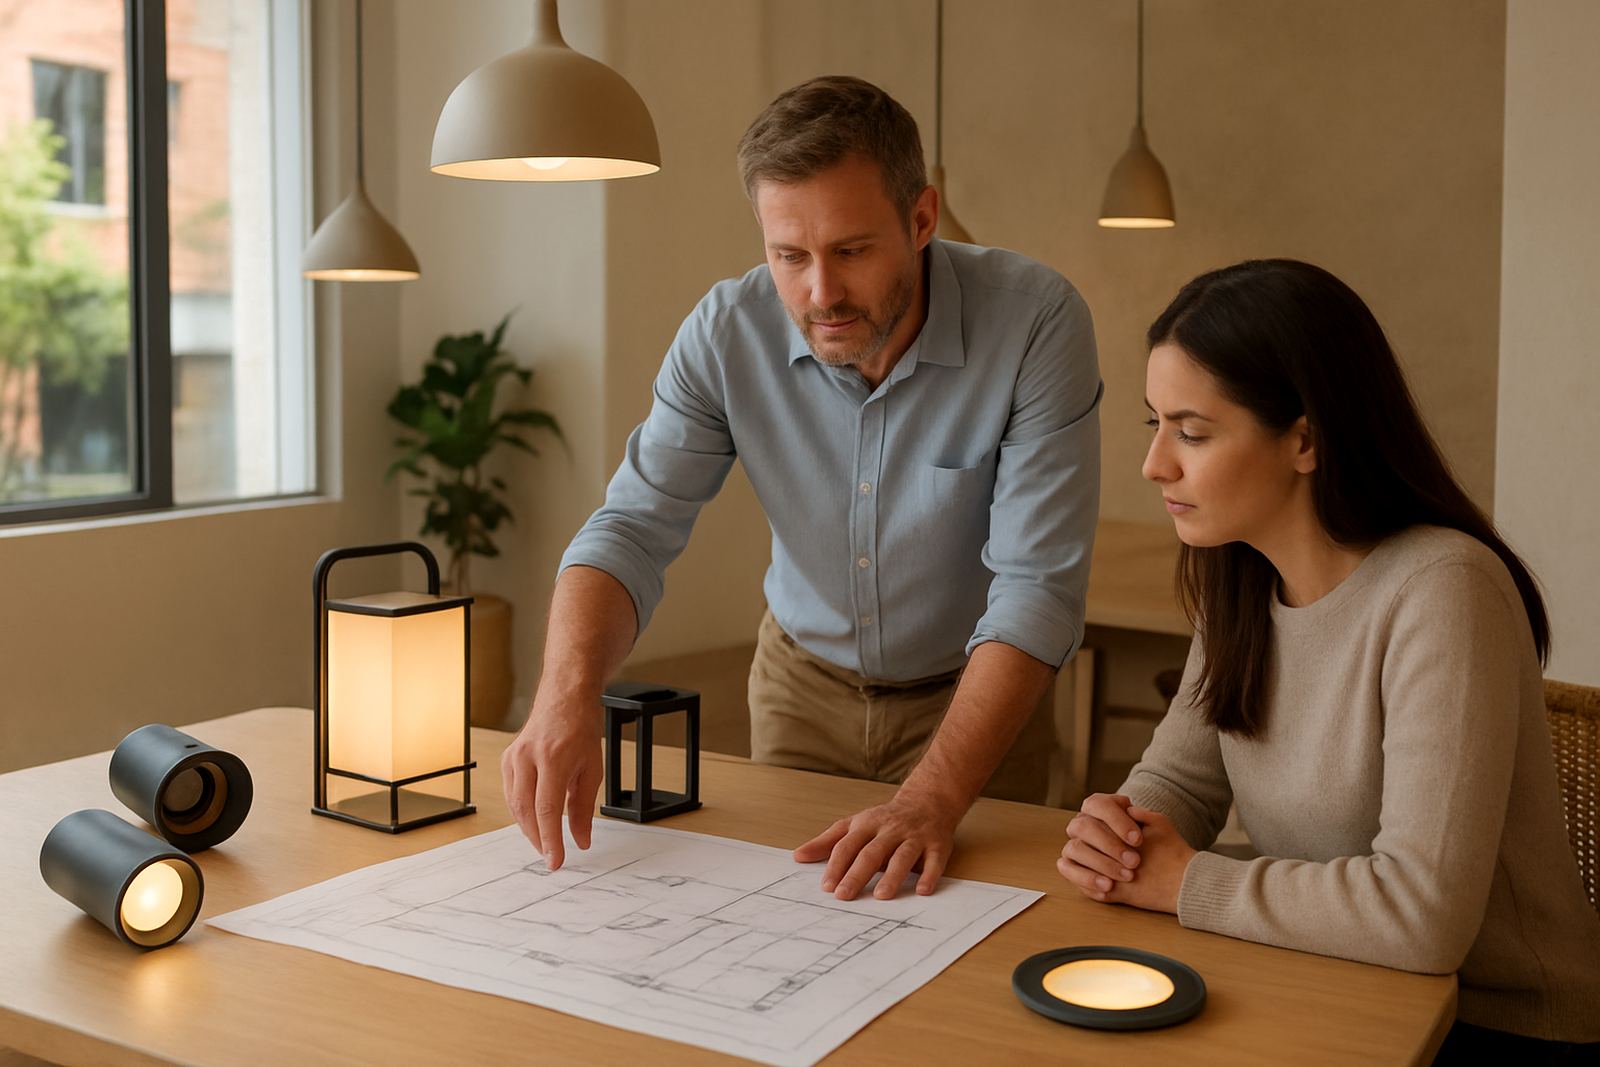
The process begins with a proper briefing. We look at how the space is used, who moves through it, what should stand out, and what must stay practical day to day. A shopfront in Rosebank has very different needs from a family home in Pretoria or a restaurant in Umhlanga near the coast, so the first step is to understand the setting, the building and the client goals.
We also ask about timing, budget, existing electrical points and any constraints such as load-shedding, ceiling heights, tenant rules or municipal approvals. If the site is still being finished, we work with the available drawings and trades so the lighting plan can fit neatly with the rest of the project, not fight it.
2. Site lighting audits and measured assessments
Once the brief is clear, we carry out a site lighting audit where needed. This helps us see what already works and what needs to change. We check for dark corners, glare, uneven illumination, poor fitting positions and areas where display lighting is doing too much, or not enough. In coastal areas like Durban and Umhlanga, we also consider humidity and corrosion risk when choosing fittings and finishes.
The audit usually covers:
- Current light levels and problem areas
- Power points, switching and existing controls
- Ceiling structure, bulkheads and mounting options
- Signage, merchandise, artwork or feature walls that need emphasis
- Access for maintenance and safe relamping
This step gives us a practical base to work from. It avoids guesswork and keeps the later design accurate.
3. Concept design and visual direction
After the audit, we develop the lighting concept. This is where the style of the project starts to take shape. For a restaurant, that may mean warm layers, intimate table lighting and a stronger feature at the bar. For a shopfront, the focus may be on strong visibility from the street, clear brand presentation and lighting that draws people in after sunset. For homes, we balance comfort, function and visual character across kitchens, living rooms, bathrooms and outdoor areas.
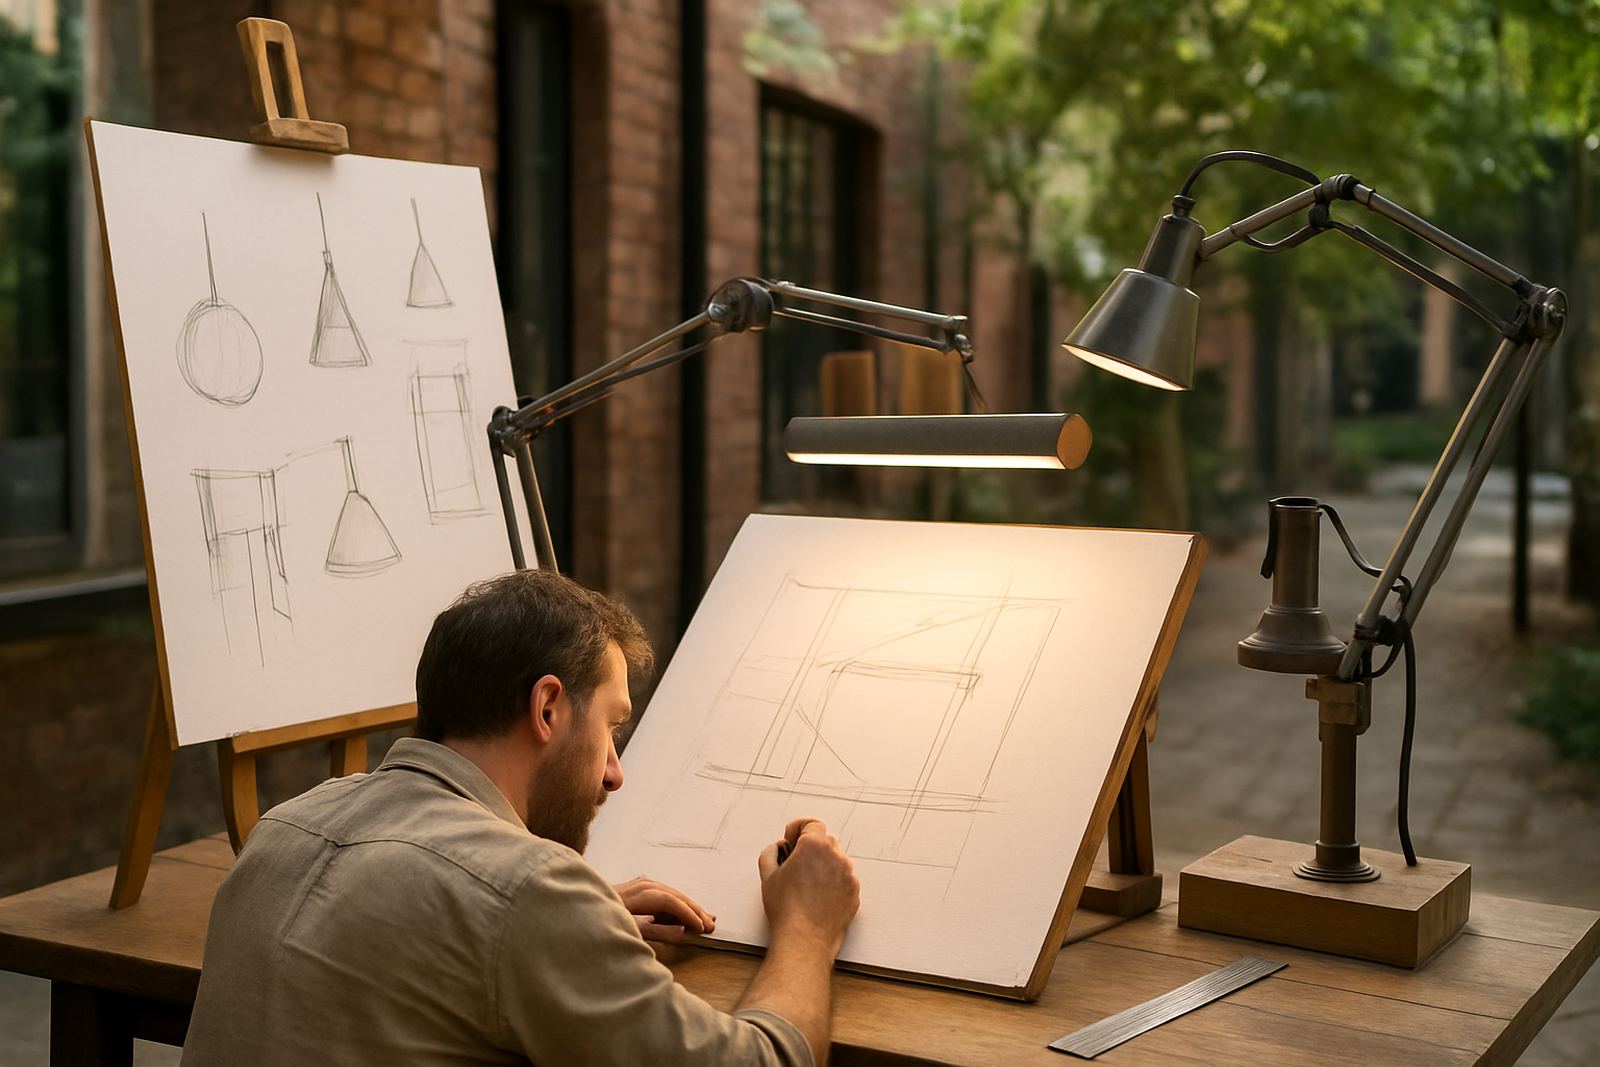
We prepare 3D lighting visuals, sketch options and mockups where helpful, so the client can see how the scheme will feel before decisions are locked in. This stage is about mood and purpose. It is where we test ideas, refine direction and make sure the lighting supports the architecture rather than competing with it.
- Concepts are tailored to the brand or home style
- Lighting layers are planned for ambience, task and accent use
- Fixture forms and finishes are matched to the interior palette
- Control ideas are set out early so the system is easy to use
4. Fixture specification and layout plans
Once the concept is approved, we move into specification and layout planning. This is the technical stage that turns the idea into something buildable. We select suitable fittings, beam spreads, colour temperatures, mounting heights and control types, then place everything on a layout that can be used by the electrician and other contractors. We are careful with spacing, aiming and sightlines so the finished result looks clean and functions properly.
Specification is not just about appearance. It must suit the use of the space, the maintenance plan and the local power reality. In South Africa, that means thinking ahead about load-shedding, backup circuits and controls that can still make sense when power is interrupted. We also make sure the selected fittings are appropriate for the environment, whether it is a busy retail strip in Sandton or a humid home near the coast.
5. Installation coordination with the project team
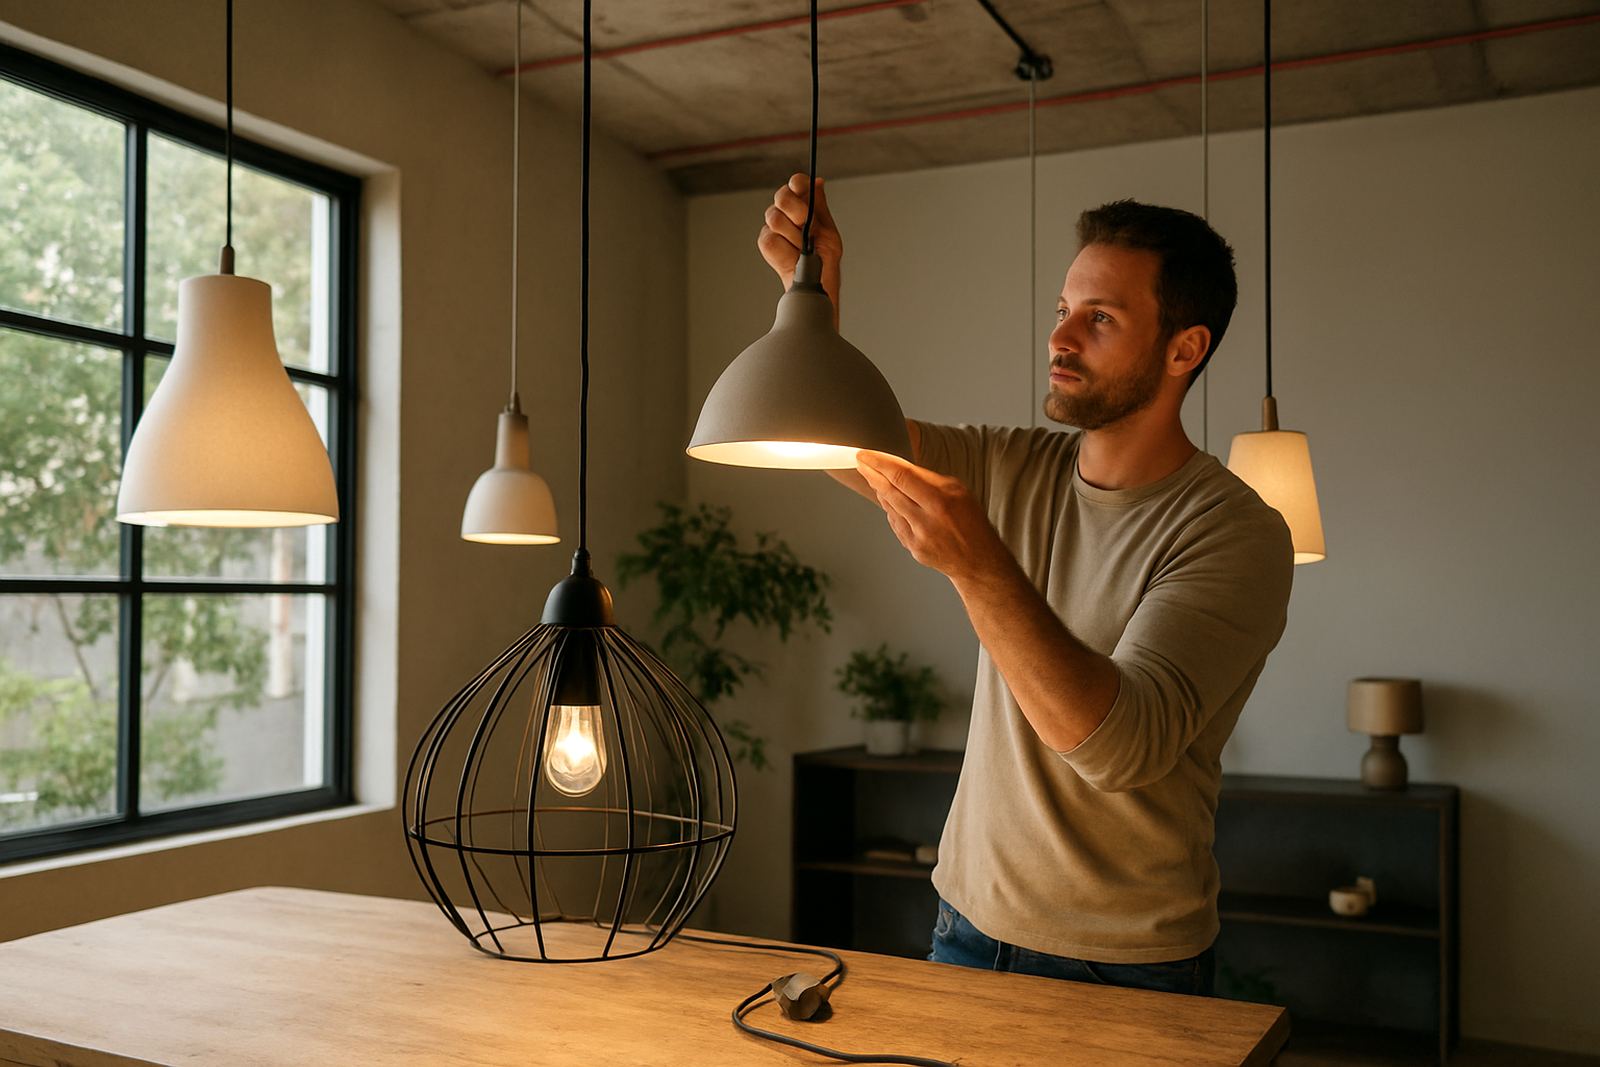
During installation, Illumin8d stays involved to make sure the lighting is installed according to the design. We coordinate with the contractor, electrician, joiner, ceiling team and any other relevant trade so fittings go in the correct positions and the intent of the design is preserved. If the site changes, we respond quickly and adjust where needed, without losing the overall plan.
Typical coordination points include:
- Checking set-out before ceilings close
- Confirming driver locations, access and ventilation
- Reviewing dimming and switching zones
- Making sure feature lights line up with architecture or displays
- Managing any site changes that affect aiming or spacing
This stage saves time later. It keeps rework down and helps the final result come together as intended, with fewer surprises on site.
6. Final focusing, handover and aftercare
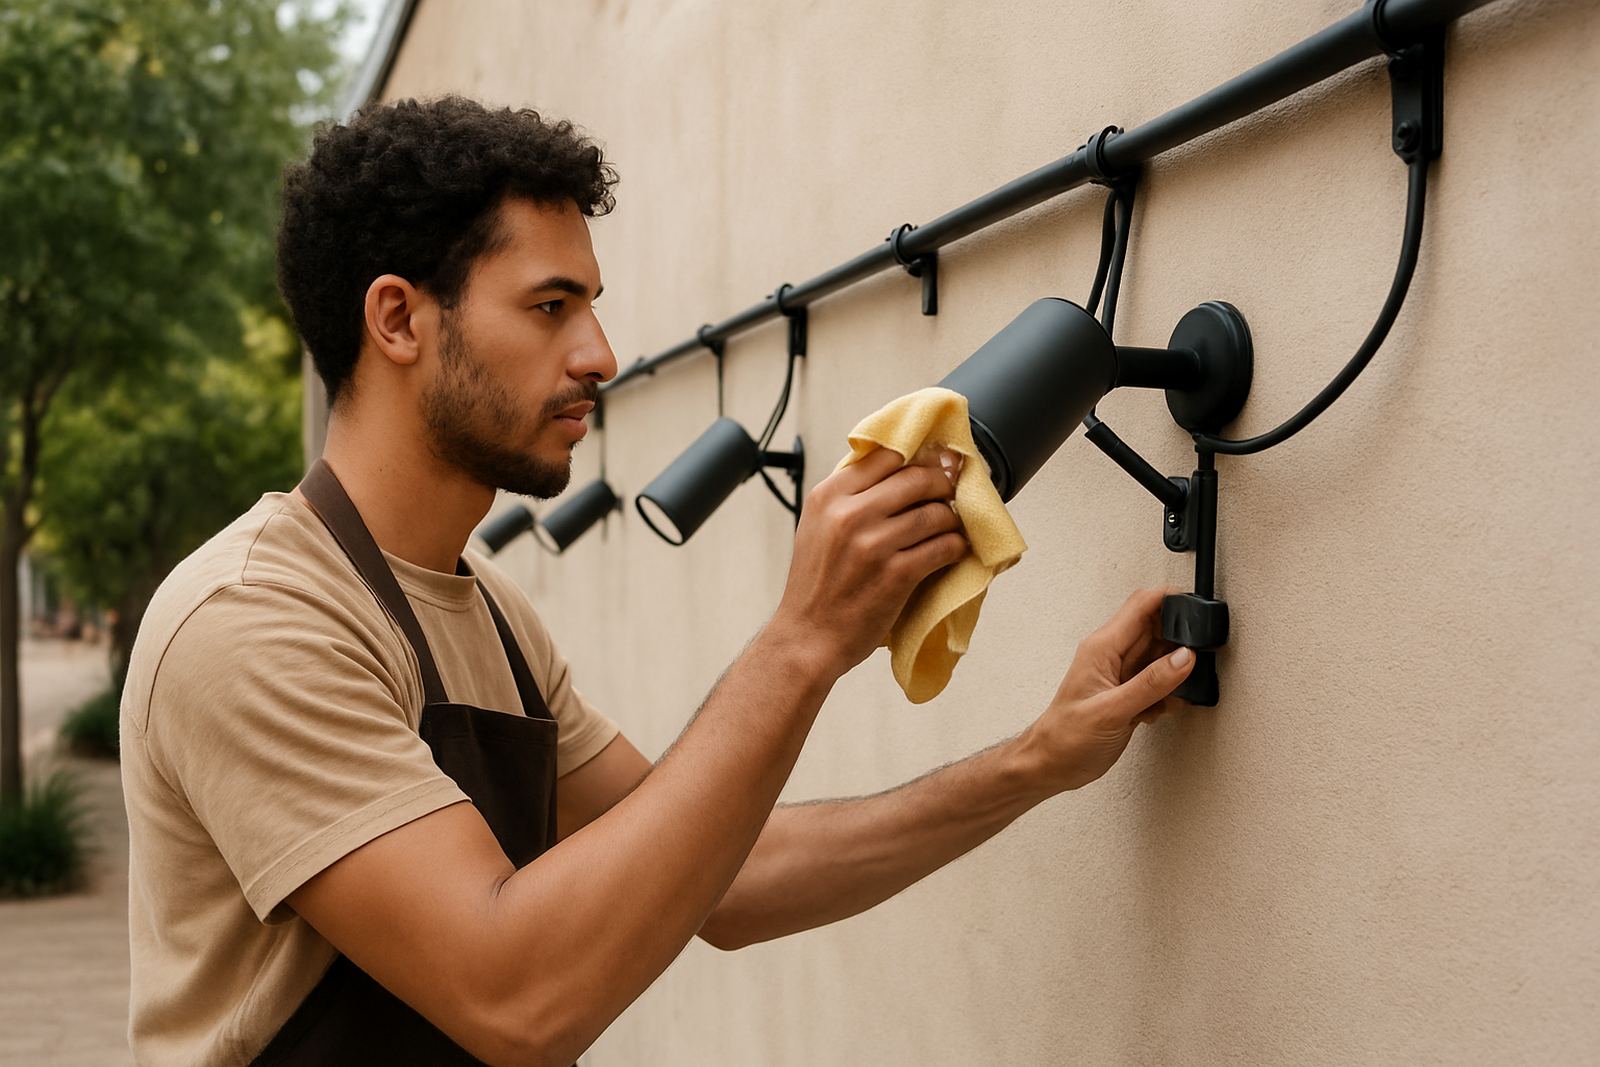
When the fittings are in place, we do post install focusing. This is where the detail matters most. We adjust angles, refine beam direction and check the balance between bright and soft areas. In a shopfront, we may fine tune how the façade reads from the street. In a restaurant, we check faces, tables and wall surfaces so the space feels inviting but not overlit. In a home, we make sure movement, comfort and visual warmth all work together.
We then hand over the lighting plan and confirm how the controls should be used. If anything needs small adjustment after the space has been lived in for a few days, we can return and refine it. That practical follow-through is part of the service, because a lighting scheme only earns its place once it works properly in daily use.