
What you are actually paying for in a shopfront lighting budget
A shopfront lighting quote is usually made up of design time, fixture supply, electrical coordination, installation support, and final focusing. For a small retail frontage in Rosebank or Sandton, the spend may stay fairly modest. For a double-volume facade in Pretoria or a restaurant frontage in Umhlanga, the budget climbs quickly because higher mounting points and weather protection are harder to get right.
The most important thing is to separate the cost of the light fitting from the cost of getting the light in the right place. A fitting that looks simple on paper can need extra brackets, weather rated parts, dimming gear or a more complex circuit plan. If the building has limited power points or an older distribution board, allow for extra electrical work as well. On live sites, especially malls and street-facing units, after-hours access can also add cost.
- Design and concept development
- Fixture specification and sample review
- Electrical and control coordination
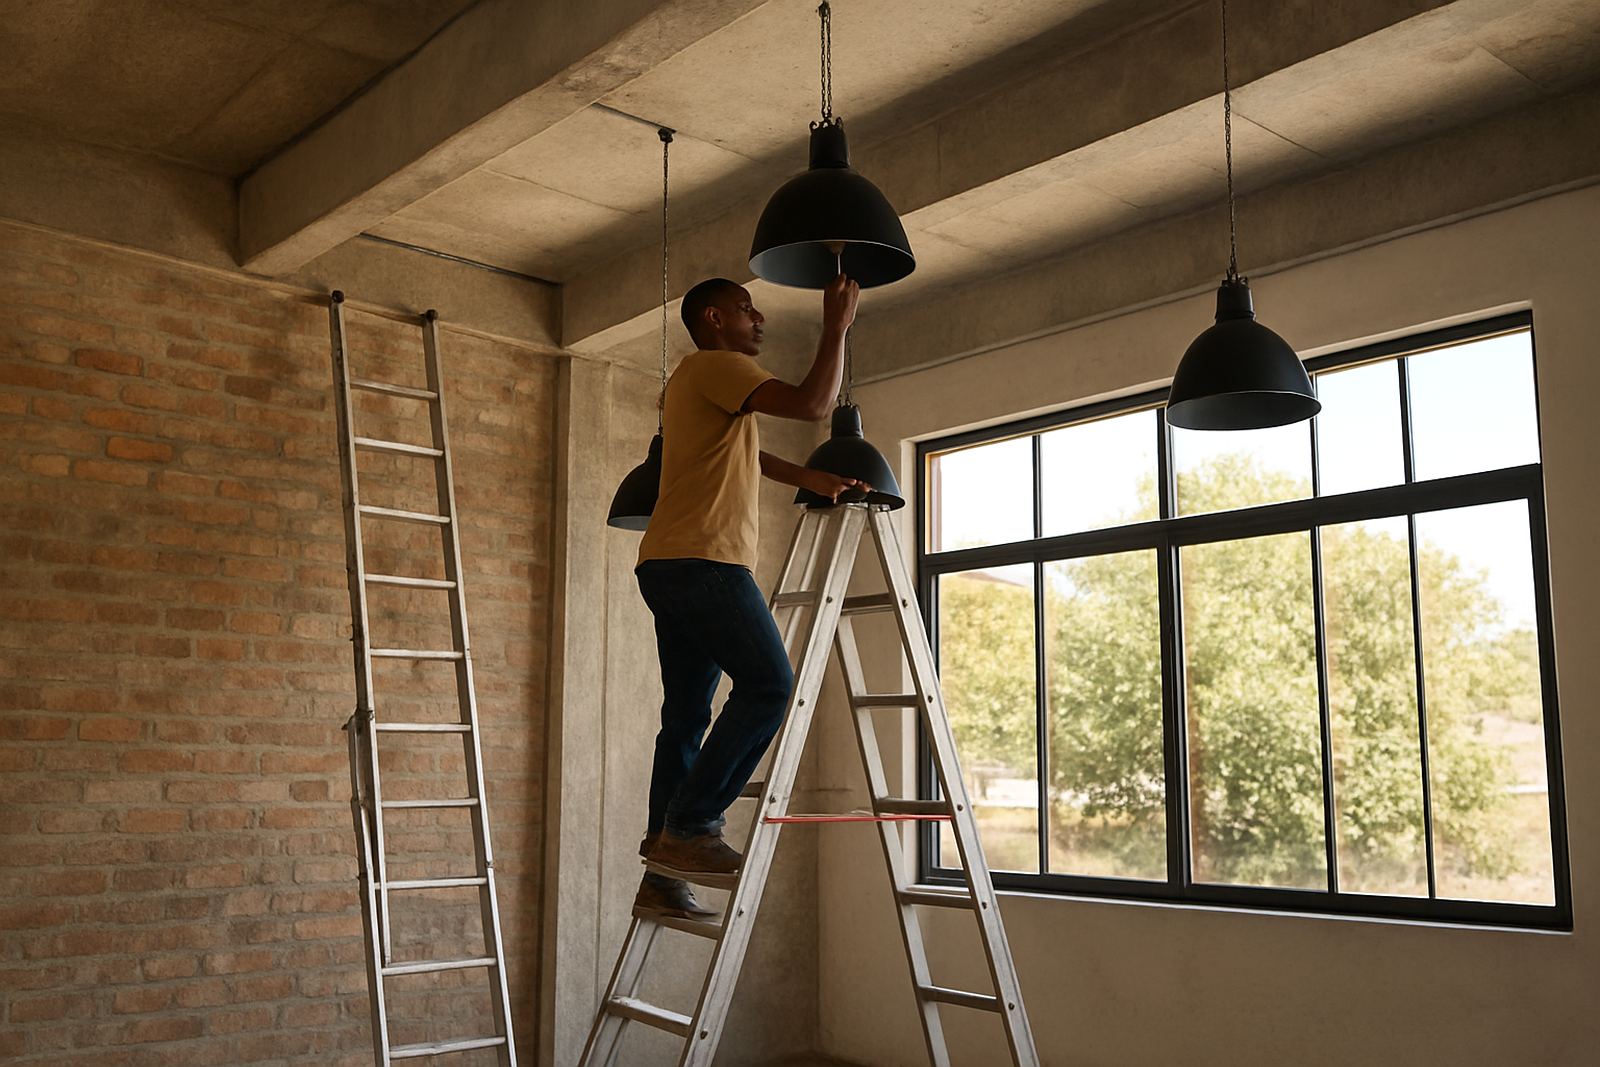
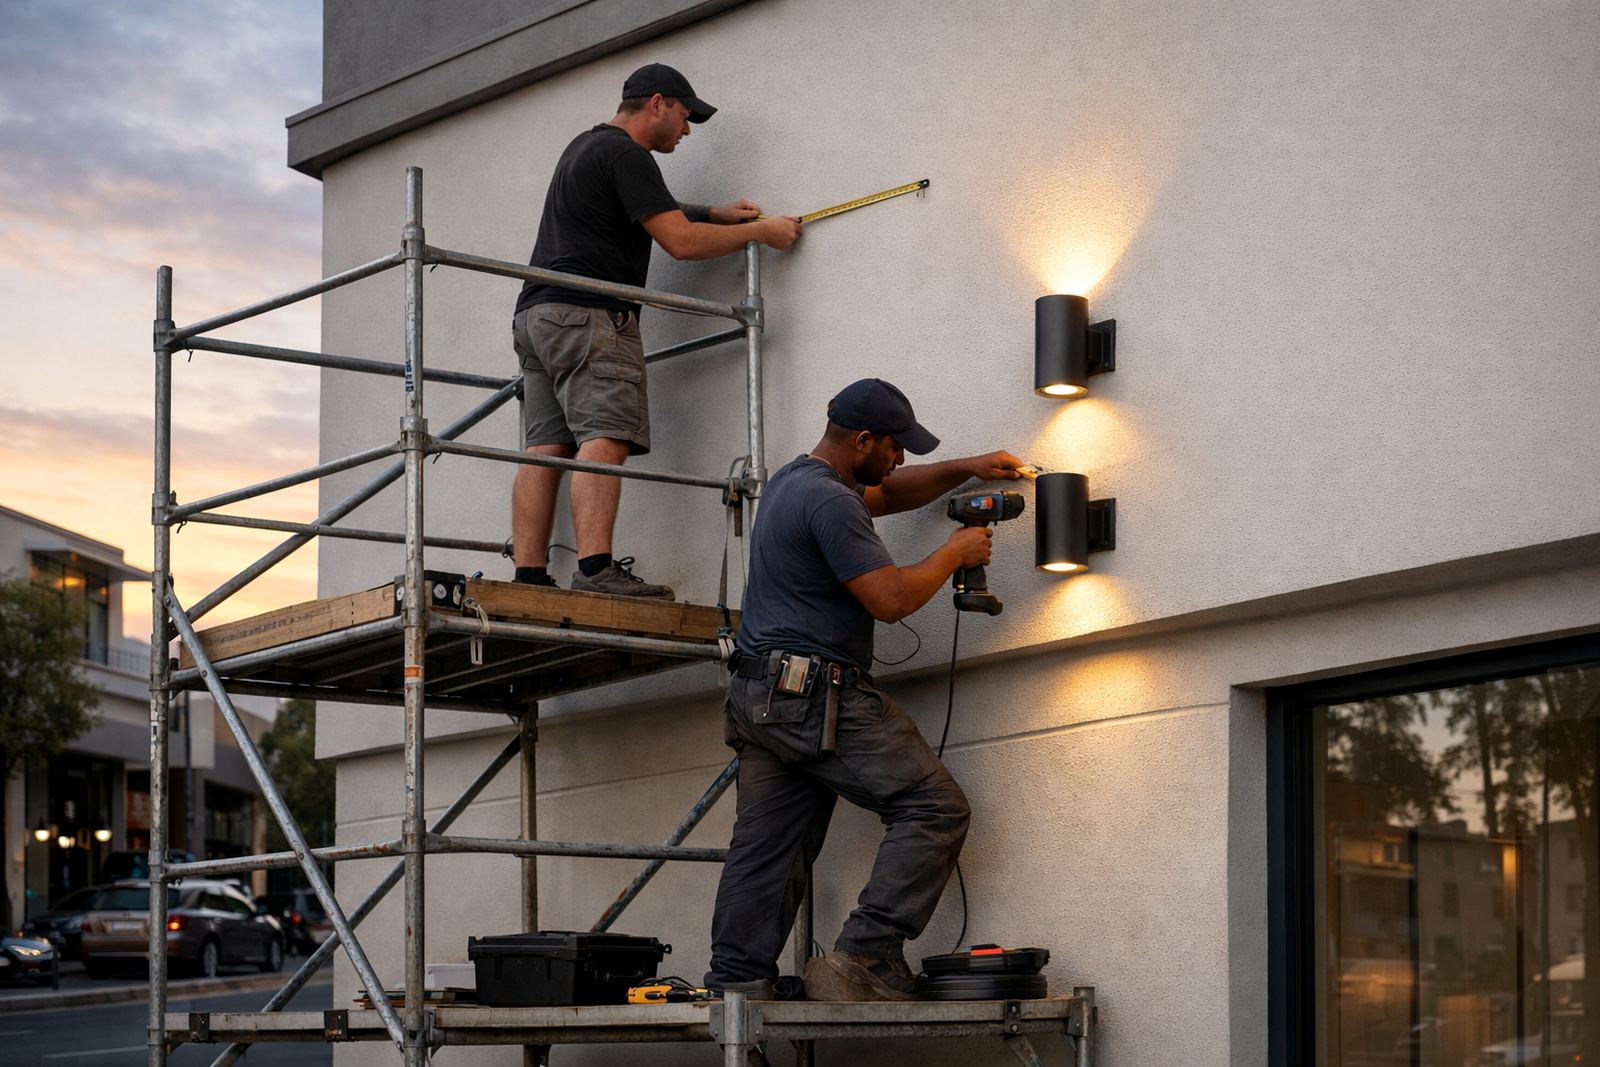
- Installation access, labour and lift equipment
- Final aiming, testing and handover
The main cost drivers for shopfront lighting in South Africa
Three things usually move the number most: the length of the frontage, the type of effect required, and the complexity of the controls. A 6 metre bakery frontage with a few accent spots is a different job to a 20 metre restaurant frontage that needs signage wash, feature lighting and window display emphasis.
Location matters too. In coastal areas like Durban and Umhlanga, fittings often need better corrosion resistance because of salt air and moisture. In Johannesburg and Pretoria, dust and heat can affect exposed fittings on busy roads. If your shopfront is on a municipal street or in a heritage precinct, you may also need to work within rules on glare, overhangs or facade alterations.
- Frontage width and height
- Internal spill light from the ceiling line
- Outdoor exposure to rain, wind and dust
- Choice of warm white, neutral white or tunable lighting
- Need for dimming, timers or sensor control
Typical budget steps from concept to handover
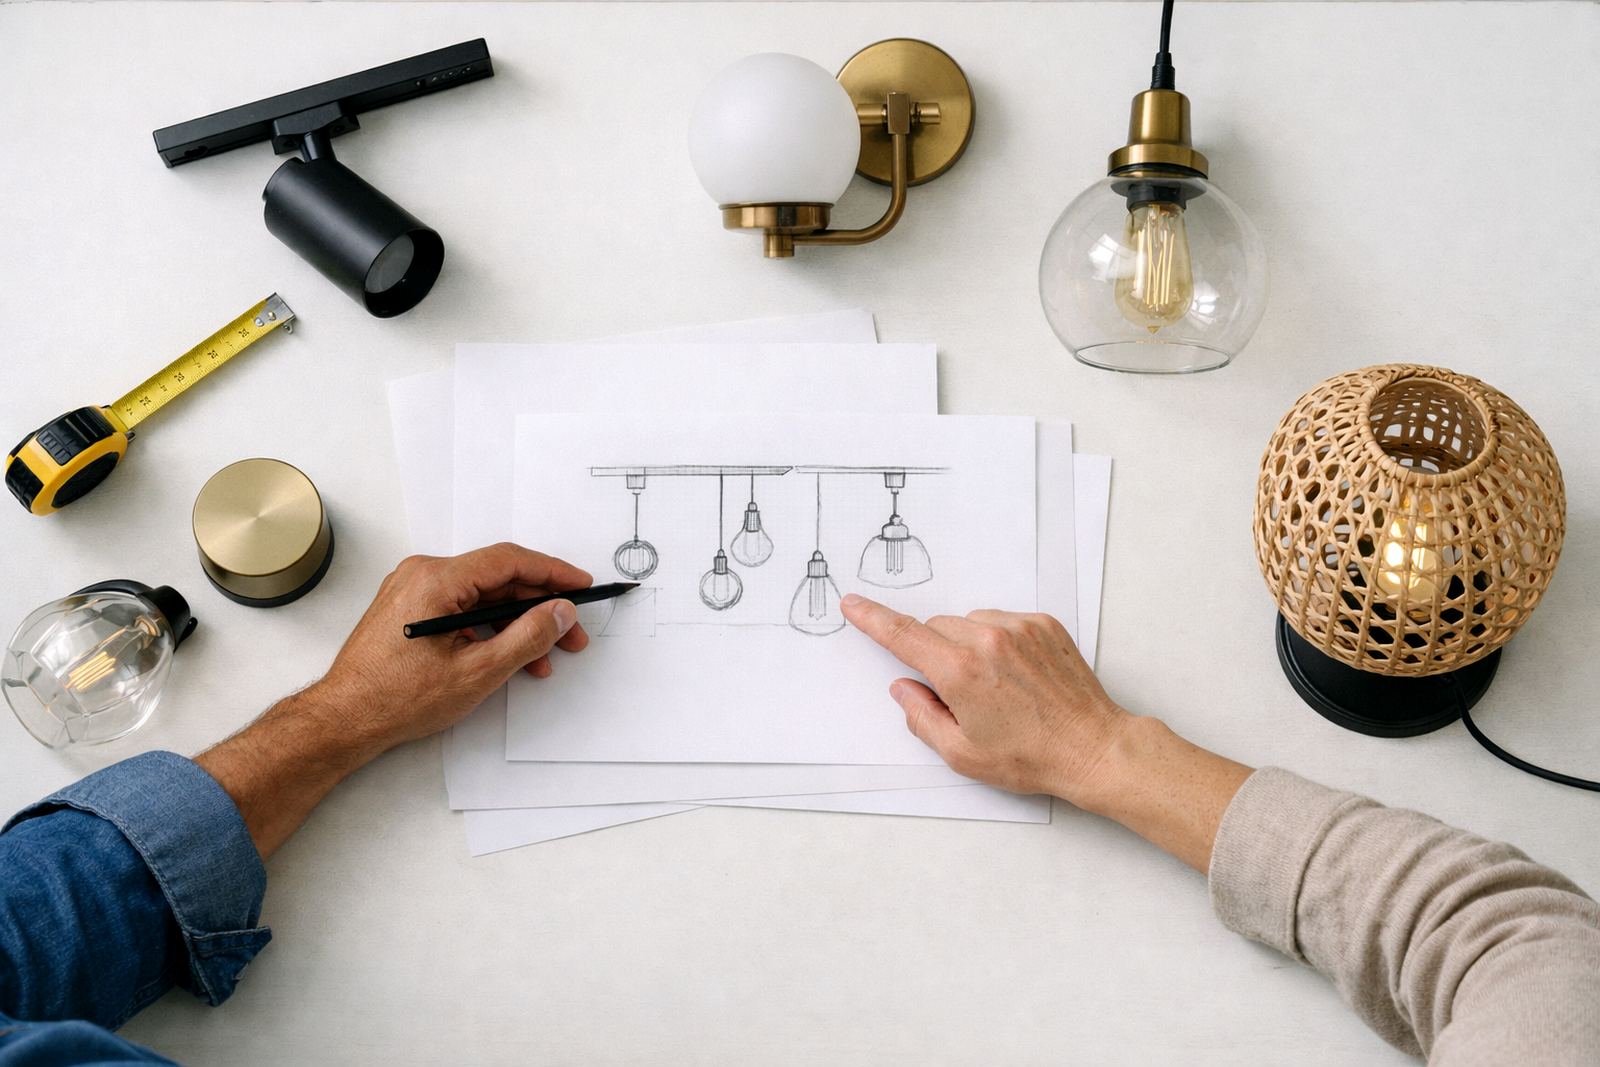
The safest way to budget is in stages. Start with a concept and site review so you know what you are working with. Then move to fixture selection and a layout plan before any purchases are made. That avoids buying fittings that are too bright, too narrow, or not suitable for the mounting height.
For most shopfronts, the budget should include a small contingency. This is especially useful if there are ceiling void surprises, damaged wiring, or unforeseen changes after the first site visit. Load-shedding also changes how a frontage behaves at different times of day, so it is worth checking how the lighting reads when neighbouring tenants switch off and the street goes darker.
- Measure the frontage and confirm mounting heights.
- Audit the existing electrical supply and points.
- Define the effect needed for signage, windows and entries.
- Select fixtures, lenses, finishes and control gear.
- Allow for installation, aiming and a final test at night.
What to ask before you accept a lighting quote
A quote should tell you exactly what is included and what is excluded. If it only shows a lump sum, ask for the fixture list, the number of points, the control method, and whether commissioning is included. This makes it easier to compare one offer with another and avoids later arguments over extras.
Ask how the design handles night-time visibility from the street, not only daytime appearance. A good shopfront must read well from a passing car, from the pavement and from inside the store. If the plan includes decorative detail, make sure it still supports the actual retail task, which is to draw people in and help them see merchandise clearly.
- Are fittings suitable for indoor or outdoor exposure?
- Does the price include wiring, mounting and labour?
- Is dimming or scene control included?
- Will the supplier attend focusing after installation?
- What is the turnaround time for specials or custom pieces?
How to keep the spend under control without cutting quality
The easiest way to lose money is to change the brief halfway through. Set the aim early: whether the shopfront needs a clean wash, a dramatic feature line, or a softer hospitality feel. Once that is clear, your team can choose fewer fittings that do the job properly instead of over-specifying every point.
You can also manage cost by standardising certain parts of the scheme. For example, use one type of beam spread across most of the frontage and reserve special fittings for the entrance or brand sign. On larger rollouts across Johannesburg, Cape Town and Durban, this helps with spare parts and future maintenance too. It also makes re-lamping and cleaning less of a headache.
- Keep the lighting brief simple and specific
- Reuse suitable wiring and mounting points where safe
- Prioritise the entrance and signage first
- Choose finishes that suit coastal or dusty conditions
- Plan for maintenance access from the start
A simple checklist before you budget your next shopfront
If you are opening a new site or refurbishing an existing one, gather the basics before asking for numbers. The more accurate your measurements and photos, the easier it is to price the right solution. A proper checklist also helps if you are comparing several sites across Rosebank, Sandton, Midrand or Pretoria.
Good shopfront lighting is not just about how much it costs on day one. It also affects electricity use, maintenance, and how well the frontage works after sunset. The right plan should hold up through winter evenings, rainy season, and those days when the street is half dark because of load-shedding.
- Frontage width, height and photos from day and night
- Ceiling type, wall finish and mounting points
- Power availability and existing control gear
- Desired opening hours and operating pattern
- Any landlord, municipal or centre management rules