
Start with the space and what it must do
Before drawings, fittings or control ideas, write down exactly what the space needs to achieve. A shopfront must catch the eye from the street, a restaurant needs the right mood at different times of day, and a home should feel comfortable while still giving enough light for reading, cooking and cleaning. If the site has load-shedding backup, note that too, because the lighting plan may need to separate essential circuits from decorative layers.
Include the location, size and ceiling height, plus any site conditions that affect the work. Coastal humidity in places like Umhlanga or Cape Town can influence finish choices, while older buildings in Johannesburg or Pretoria may have limited ceiling voids, uneven plaster, or fixed beam positions that need to be worked around.
- Full site address and suburb
- Type of project: shopfront, restaurant or home
- Approximate floor area and ceiling heights
- Hours of use and trading times
- Any damp, dust or coastal exposure
- Existing power points, switch locations and backup power
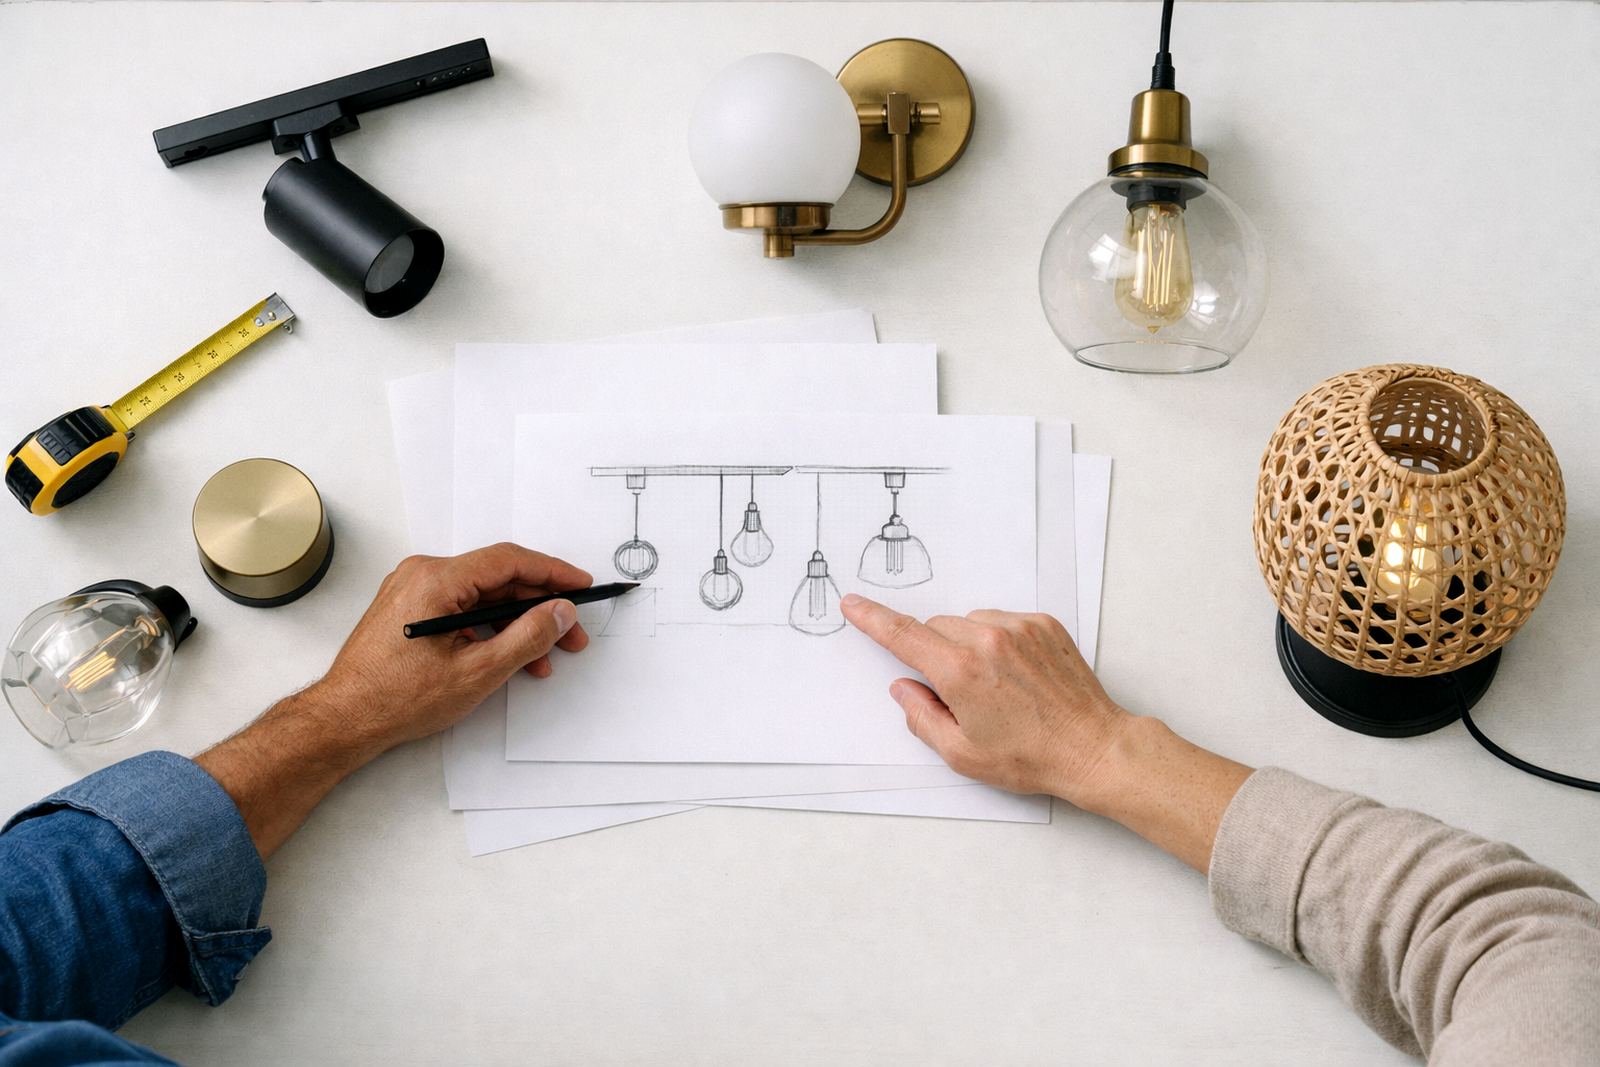
Describe the look you want, not just the fittings
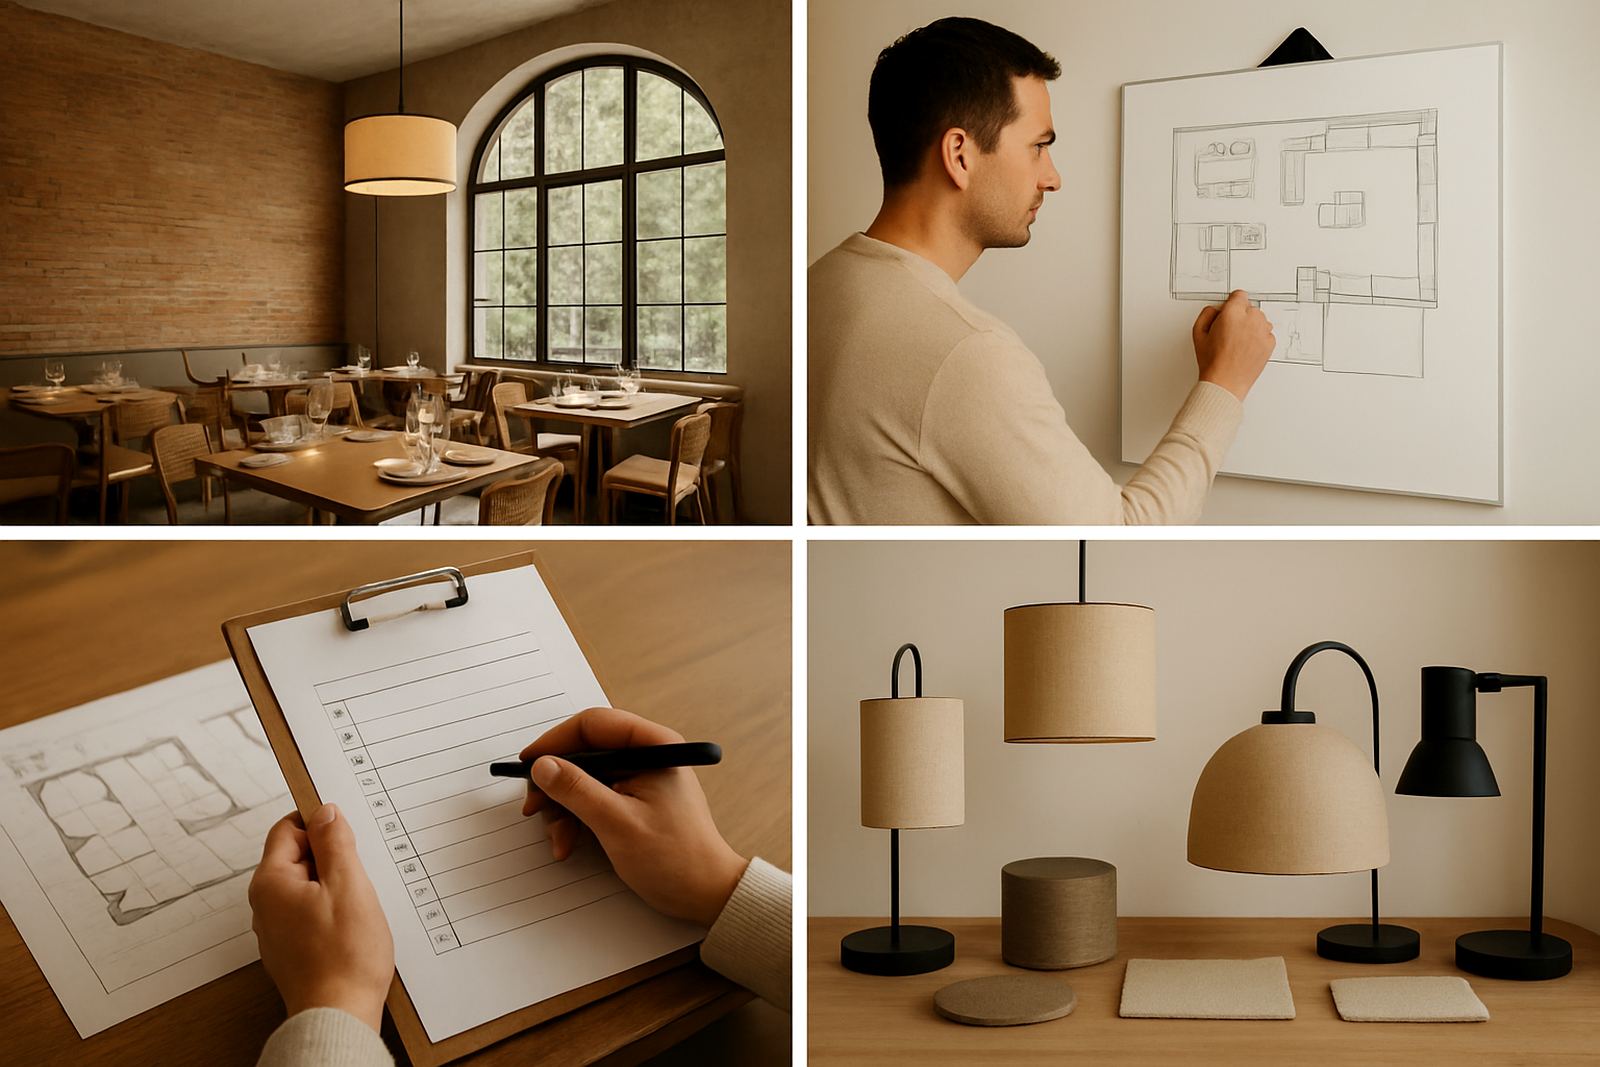
A strong brief goes beyond saying you want pendant lights or downlights. Explain the feeling you want people to have when they enter the space. For example, a retail front may need sharper focal points and brighter window display lighting, while a dining room might need warm table lighting with softer general light around the edges. A home in Sandton may call for a cleaner architectural look, while a family house in Midrand may need a more practical mix of task and ambient lighting.
It helps to share references, but also say what you like about them. Is it the colour temperature, the shadow lines, the way the fittings disappear into the ceiling, or the way shelves are picked out with accent light? The more specific you are, the easier it is to shape a design that suits your style and brand identity.
- Preferred mood: warm, bright, calm, dramatic or minimal
- Spaces that must stand out first
- Materials to highlight, such as stone, wood, glass or signage
- Colours and finishes already used in the interior
- Examples of spaces you like, and why
List the practical tasks each area must support
Lighting should look good, but it also has to support how people move and work in the space. Ask what takes place in each zone during the day and after dark. In a restaurant this might mean menus, table service, clearing, cleaning and late evening atmosphere. In a shopfront it may mean display browsing, cashier areas, fitting rooms and after-hours security lighting. In a home, kitchen prep, bathroom grooming, stair safety and reading corners all need different levels of light.
When the brief covers real activity, the final layout usually works better. It reduces dark corners, prevents glare on mirrors or polished surfaces, and avoids putting controls where staff or family members will find them awkward to use. It also helps with fixture specification, because the fitting can be matched to the job instead of forcing one type of light to do everything.
- What happens in each room or zone
- Where people stand, sit, walk or queue
- Surfaces that need even light for work
- Areas needing accent, safety or security lighting
- Any artwork, product displays or architectural details to feature
Capture the technical information early
A lighting team can work faster when the electrical and site details are clear from the start. Note the current electrical supply, switching arrangement and whether there is room for dimming, scene setting or timed control. If the property is a renovation, include photos of the ceiling structure, the distribution board and any areas where cabling is already fixed in place. On new builds, it helps to know the stage of the programme so layout plans and installation coordination can be timed properly.
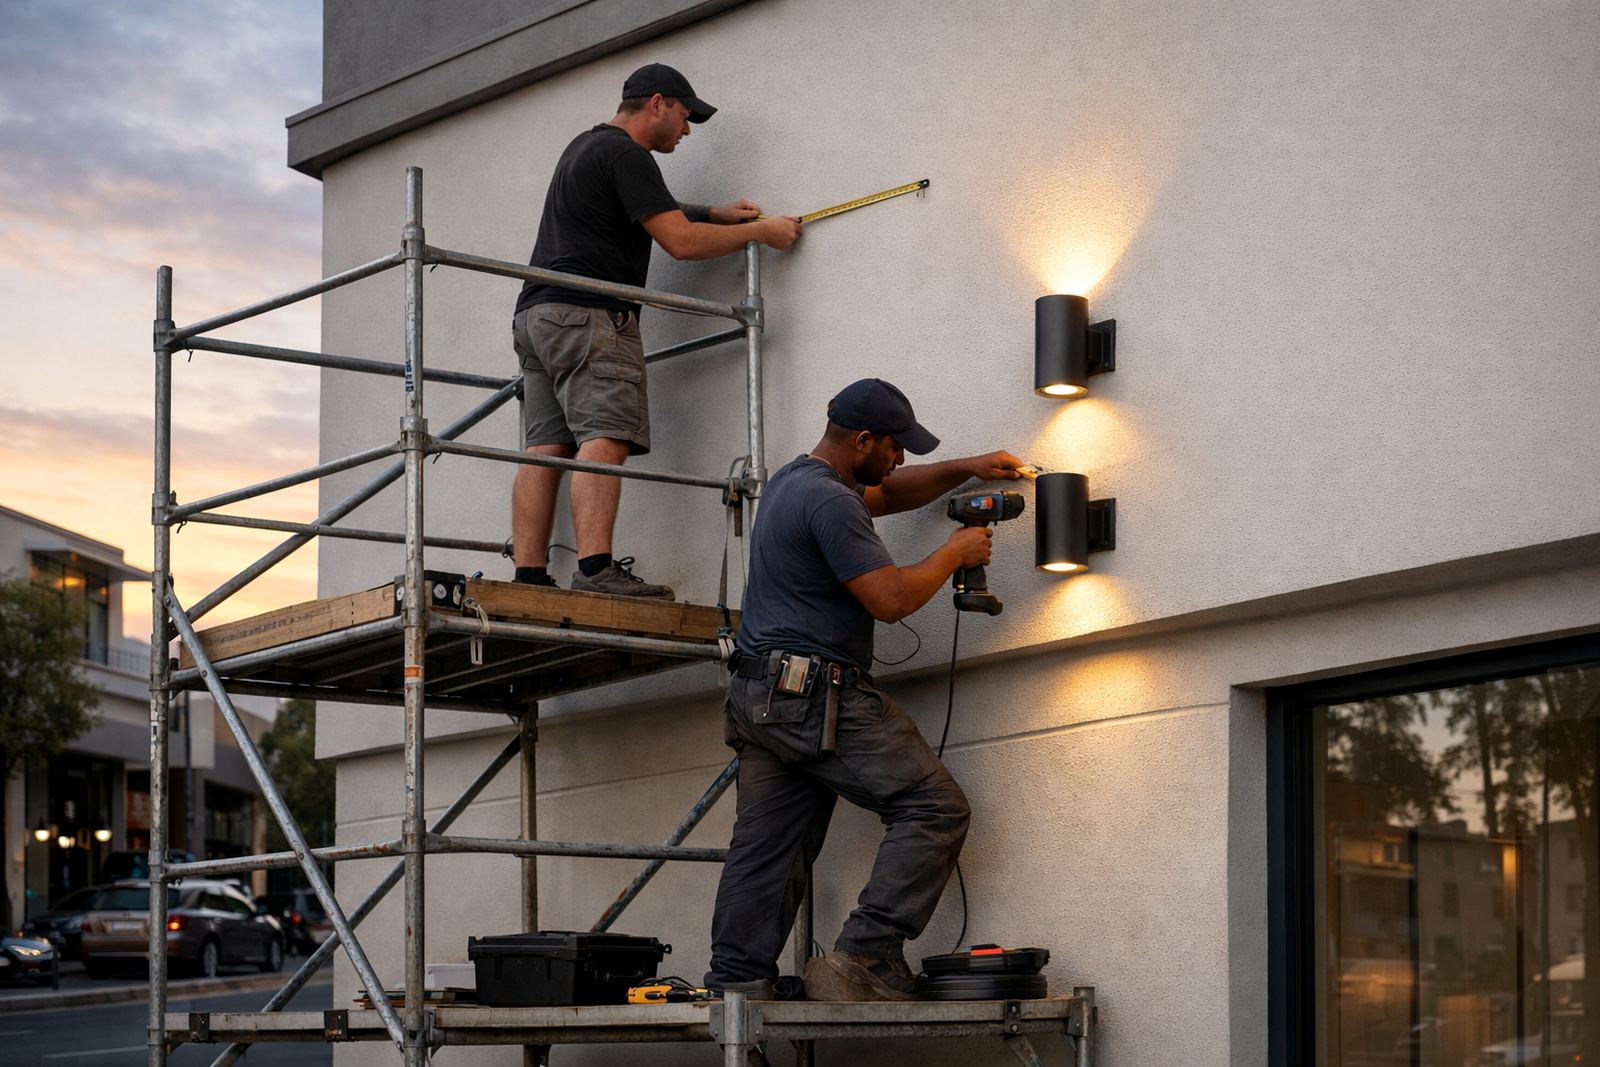
Also flag any restrictions from landlords, body corporates or municipal requirements. In some retail centres there may be rules about external signage lighting, glare, operating hours or what can be fixed to the building. For homes, especially in apartment buildings, access and installation hours can affect the sequence of work and make early coordination important.
- Power supply and backup arrangements
- Existing dimmers, sensors or scene controls
- Ceiling type, wall finishes and access limitations
- Landlord, centre management or municipal rules
- Project timing, access dates and working hours
Set the budget and the level of finish
A clear budget helps balance concept design, fixture choice and installation work. Some projects need a careful mix of off-the-shelf fittings and made-to-order details, while others need higher-specification items for better colour rendering, tighter beam control or stronger coastal protection. If the budget is fixed, say so early. It is better to prioritise the key areas than spread the money too thin and end up with a weak result.
It also helps to separate budget into parts: design, fixtures, controls, installation coordination and post-install focusing. That way it is easier to see where to adjust if the project needs trimming or where to invest more if the space has to perform well for longer trading hours. A practical brief should also mention if samples, mockups or a trial area are needed before final approval.
- Total budget or budget range in Rand
- Priority areas if the budget must be staged
- Need for samples, mockups or 3D lighting visuals
- Preference for low-maintenance or easy-to-replace fittings
- Expectation for long-term running costs and lamp life
Use a final checklist before sending the brief
Before you send the brief, take one last pass through the details and make sure nothing important is missing. A complete brief saves back-and-forth and gives everyone a better starting point for concept design, fixture specification and layout plans. It also makes site lighting audits more useful, because the team can compare what is on paper with what is actually on site.
If you are unsure about some answers, that is normal. The point is not to have every detail perfect on day one, but to gather enough information to make sensible decisions. For projects in Rosebank, Sandton, Pretoria, Midrand, Cape Town, Durban or Umhlanga, local conditions and access can shape the outcome more than people expect. A well-prepared brief keeps the process practical from the start, and avoids costly changes later on.
- Project type, site location and contact person
- Goals, mood and functional needs
- Photos, plans and measurements
- Budget, timing and access details
- Any rules, restrictions or technical concerns
What to include in your lighting brief pack
If you want the process to move quickly, put the following items together before the first discussion. A simple folder with plans, photos and notes often gives a better result than a long send us a message with scattered comments. The goal is to make the brief easy to read and easy to act on.
For shopfronts, restaurants and homes across South Africa, the best briefs are specific about use, finish and control. They do not try to solve everything at once. They simply give enough detail for the lighting designer to shape a sensible proposal that fits the space and the way people use it.
- Site photos taken in day and night light
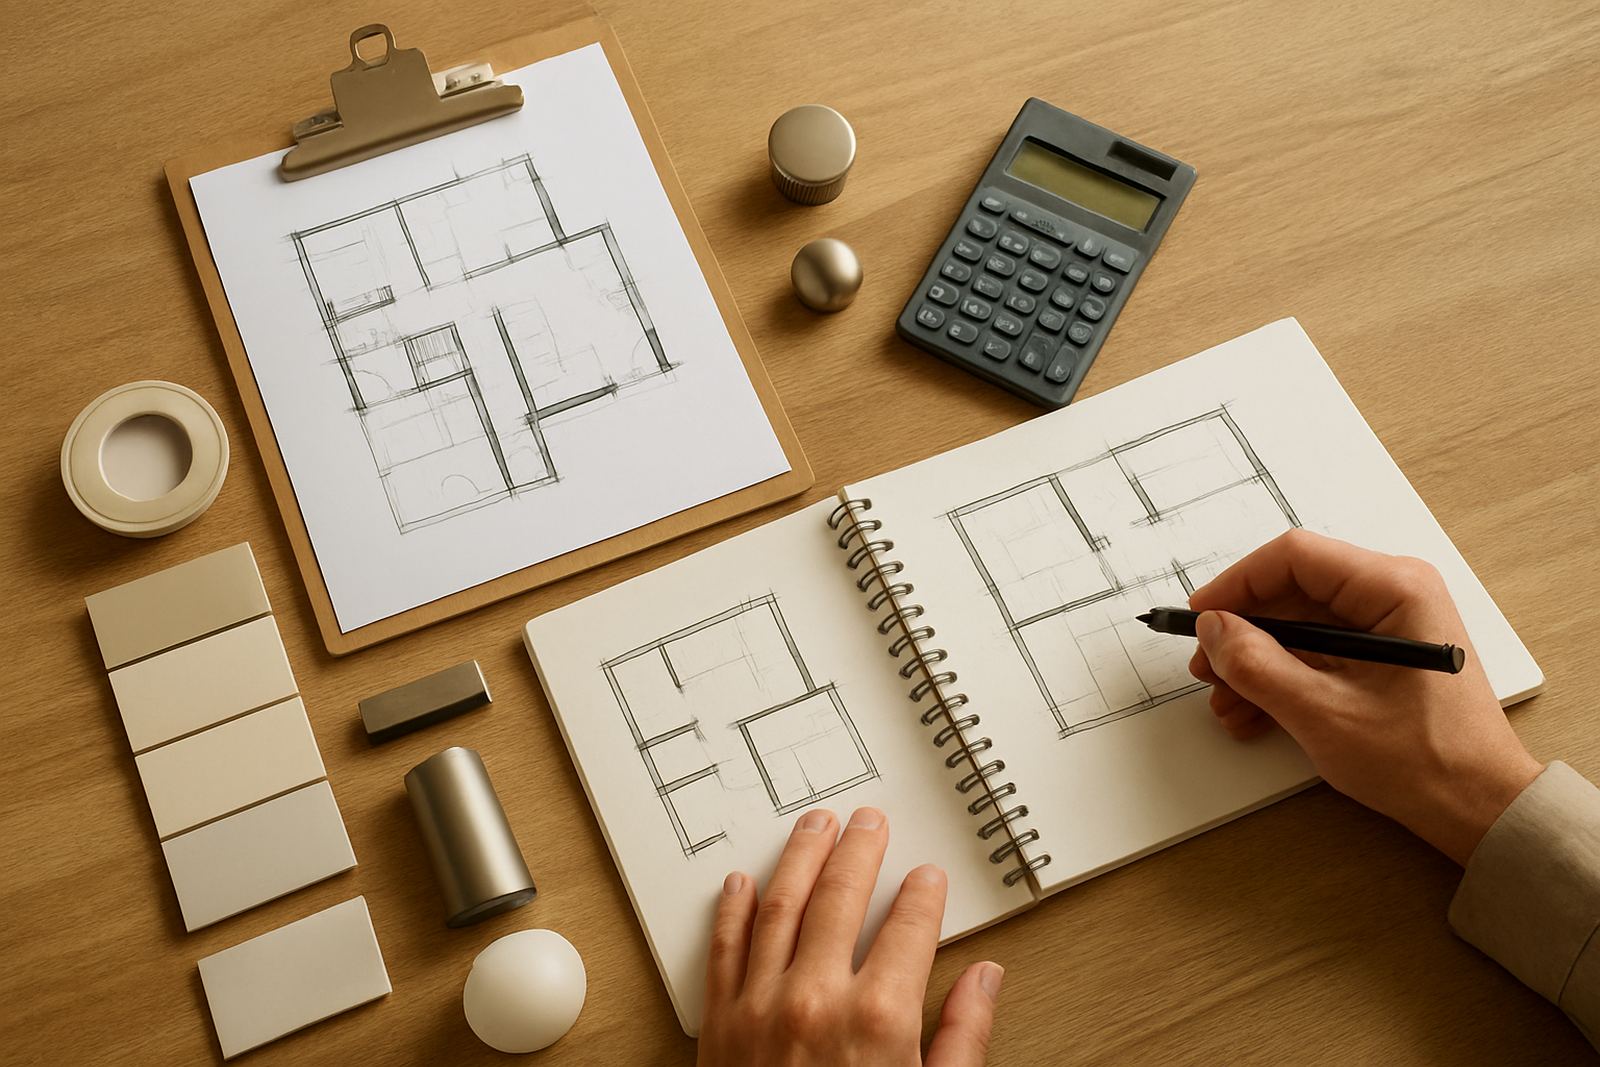
- Floor plans or hand sketches with measurements
- Short notes on what must stay and what can change
- Reference images with comments on what you like
- A list of decision makers and approval steps