
Start with the way each area is used after dark
Begin by listing the evening tasks in each part of the property. A front entrance needs safe access, clear steps and a visible house number. A patio needs comfortable light for eating and conversation. A garden may need path guidance, feature lighting for planting beds, and a softer level of light so it does not feel harsh from the house or street.
Walk the property at dusk and again later at night. Notice where people pause, where doors are opened, and where shadows make movement awkward. In many South African homes, the best result comes from lighting only the parts that need it. Too many fittings can create glare, waste power, and make the space feel busy.
- Note the key zones: entrance, path, stairs, patio, garden beds and boundary points.
- Mark where people walk, sit, unlock doors, or carry items.
- Check where trees, walls or columns create dark patches.
- Decide which areas need light for safety and which only need mood.
Check power supply, cable runs and load-shedding planning
Outdoor lighting works best when the supply and control points are planned early. Think about where the nearest power source is, how cables will run, and whether the fittings will be switched together or in separate zones. For homes in coastal areas such as Durban or Umhlanga, choose fittings and fixings that handle humidity and salt air properly. In Johannesburg and Pretoria, heat and dust can be just as important, especially around exposed patios and boundary walls.
If the property often loses power during load-shedding, consider where low-energy lighting or backup supply makes sense. Not every fitting needs to stay on during an outage, but the entrance, security path and steps often should. Keep access to drivers, transformers and control gear practical for future maintenance, not hidden behind permanent finishes.
- Identify the main supply point and the route to each lighting zone.
- Allow for safe access to control gear and junction points.
- Separate must-have lighting from decorative lighting.
- Confirm that external fittings are suitable for local weather conditions.
Choose fitting types that suit the surface and the purpose
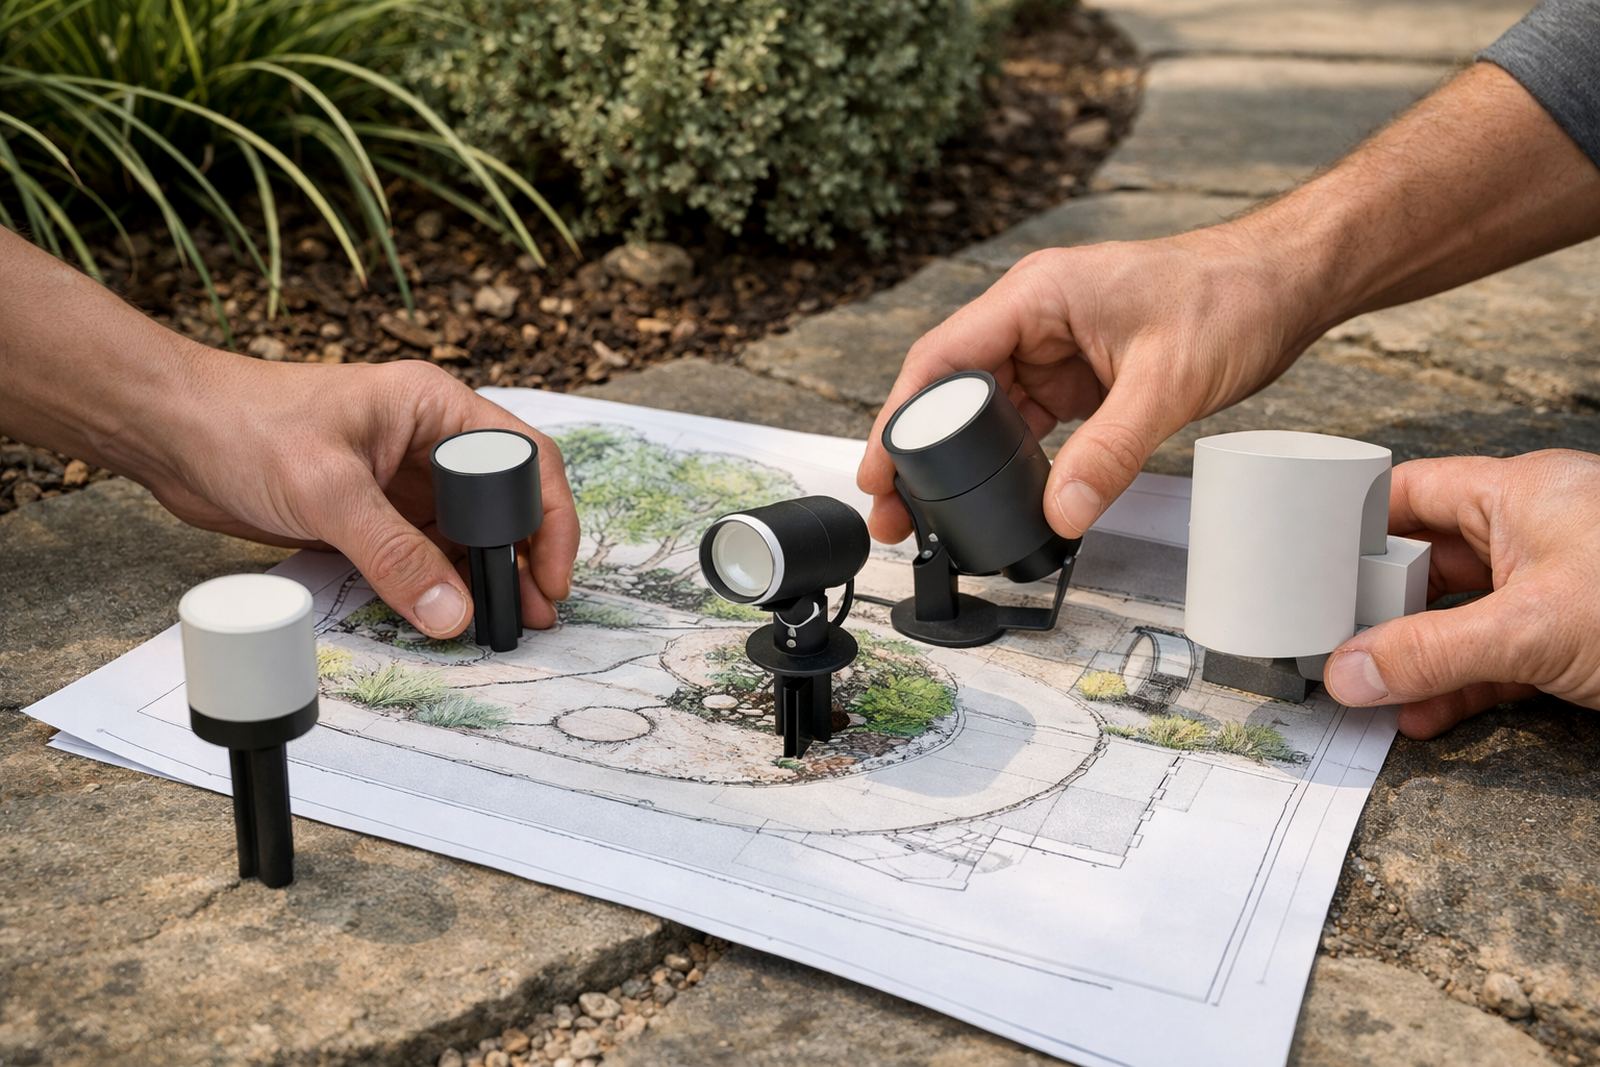
Different outdoor tasks call for different fittings. Uplights can bring out trees, columns or textured walls. Downlights under eaves can help with general brightness on patios and entrances. Bollards can guide a path, while small recessed fittings can mark steps or edges without cluttering the view. For shopfronts and restaurant terraces, the same logic applies, but the placement must also support branding and customer comfort.
Do not choose fittings by appearance alone. Check beam spread, colour temperature, mounting method and the level of light needed at ground level. A narrow beam may be useful for a tree trunk but wrong for a wide patio. Warm white often feels comfortable in living spaces, while cooler tones can suit security or circulation areas if used carefully.
- Match the fitting to the job: pathway, feature, wall wash or task light.
- Check whether the light should be fixed, adjustable or directional.
- Use fixtures with proper weather protection ratings for exterior use.
- Keep glare down, especially near seating areas and bedroom windows.
Plan the light levels before you pick the final layout
A good outdoor plan balances brightness and shadow. The entrance should be easy to recognise from the street. The patio should feel inviting without flooding the whole garden in light. The garden itself often benefits from layered lighting rather than one very bright source. That means combining a little light at ground level, a little on walls, and accent lighting where the eye naturally looks.
When working on larger properties, it helps to sketch the layout in zones. This makes it easier to compare what is decorative and what is practical. It also prevents the common mistake of putting every fitting at the same height or distance apart. A path can look better with staggered points than with identical spacing all the way along.
For homes in windier coastal suburbs, avoid placing delicate fittings where sand and debris will hit them constantly. On properties with trees, allow for growth. A fitting that looks perfect today may be hidden in six months if branches are ignored.
Use controls that make the system easier to live with
Controls matter just as much as the fittings. A good setup lets you switch zones separately, dim where needed, and keep the most important areas on a sensible schedule. For many properties, a front entrance, patio and garden should not all run on the same circuit. Separate control also makes maintenance easier if one area needs attention later.
Timers, photocells and occupancy sensors can all help, depending on the site. A restaurant entrance may need a different routine from a private home. At a home in Sandton, you may want the garden beds on a quieter scene, while the gate and driveway need brighter light. In a compact Rosebank courtyard, a single scene may be enough if it is carefully set up.
- Ask which zones should switch independently.
- Check if dimming is needed for evening entertaining.
- Consider automatic switching for regular use and security.
- Keep manual override available for special occasions or maintenance.
Finish with a site check before installation is signed off
Before the work is signed off, walk the site with the plan in hand. Check that beams are aimed correctly, fittings are level, and shadows are not falling across steps or door handles. Look from the street, from the house and from the seating area. A lighting plan can look fine on paper but still miss a handrail, glare into a window or leave a dark patch at the gate.
Test the lighting in real conditions after dark if possible. Wet paving, polished tiles and light-coloured walls can change how bright the space feels. The final check should also include fixing points, cable protection and easy access for future cleaning and maintenance. If any fitting is too high to reach or too awkward to service, that should be sorted now, not later.
For projects in Johannesburg, Pretoria, Cape Town, Durban and Umhlanga, a practical outdoor lighting checklist saves time and avoids rework. It also helps make sure the final result supports safety, comfort and the character of the property.
Outdoor lighting checklist for quick project planning
Use this short list as a final prompt before moving ahead with the design or installation. It is simple, but it catches the most common gaps.
- Have I identified the entrance, paths, patio and feature areas?
- Do I know which zones need safety light and which need mood light?
- Have I checked power access, cable routes and control points?
- Are the fittings suitable for outdoor weather and local conditions?
- Will the layout avoid glare, harsh shadows and over-lighting?
- Have I planned for load-shedding or backup needs where required?
- Can every important fitting be maintained without major disruption?
If the answer is yes to most of these, the project is on the right track. If not, it is worth stepping back and adjusting the plan before anything is installed.