

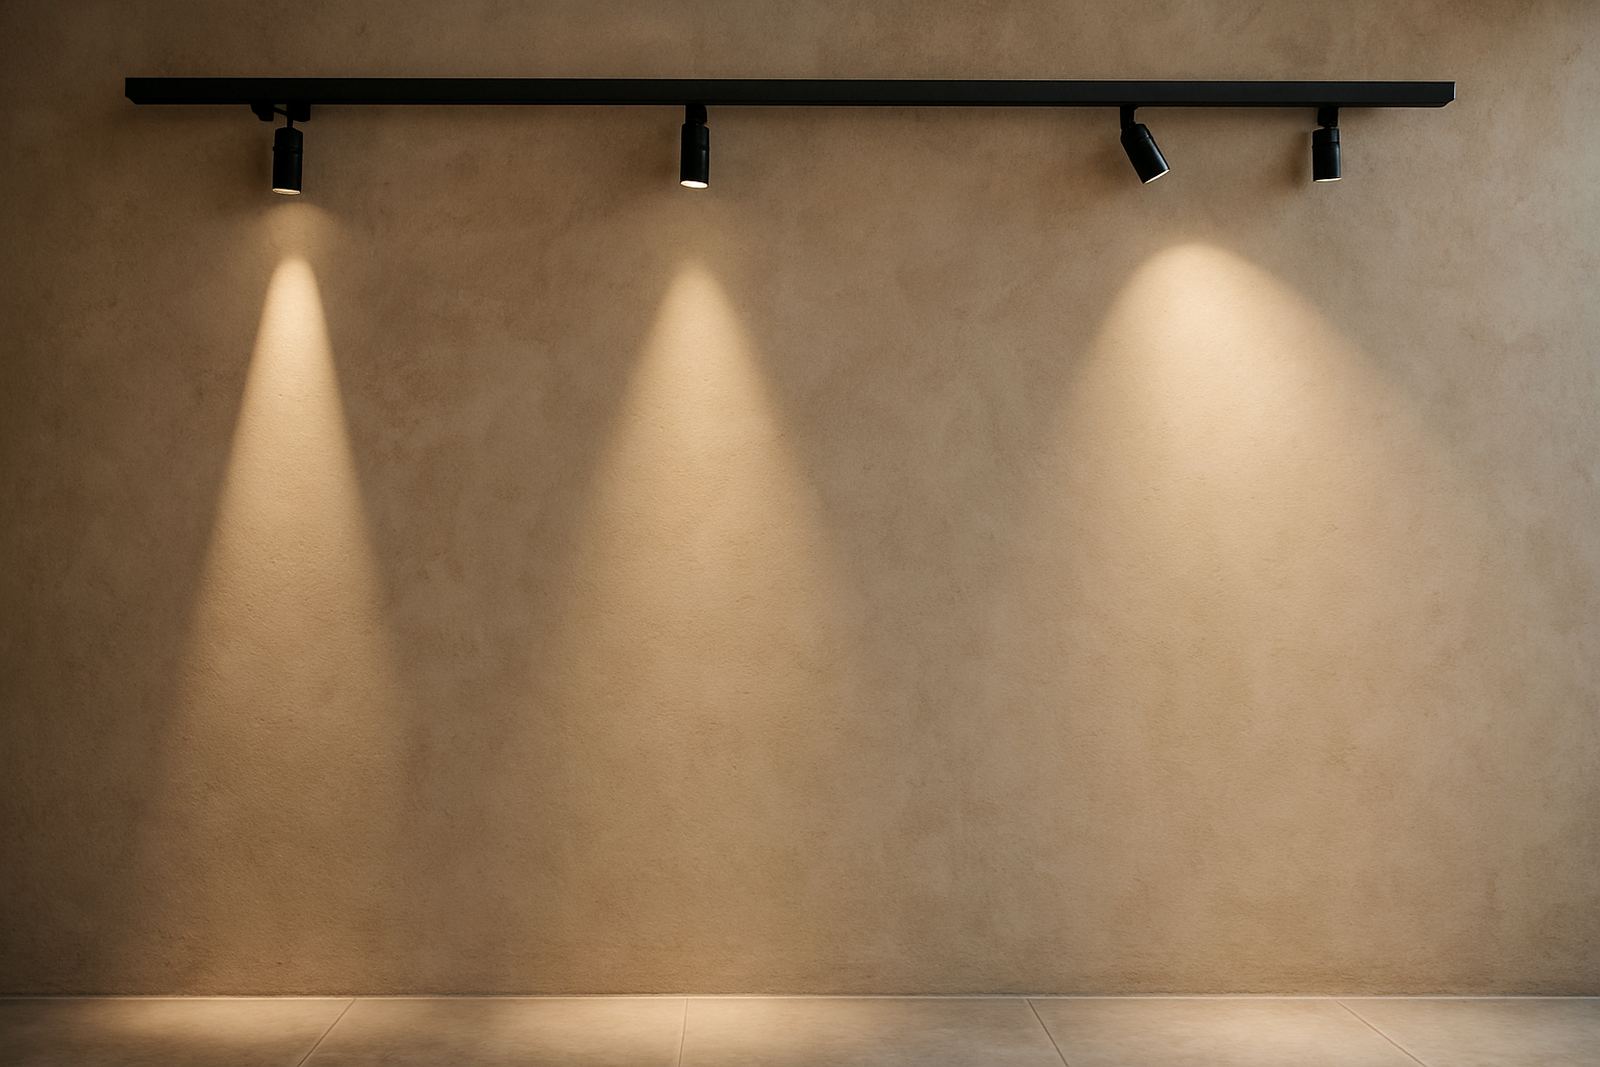
What beam angle actually means in real spaces
Beam angle is measured in degrees and it tells you how wide or narrow the light spreads from a fitting. A 15 degree beam gives a tight circle of light, while a 60 degree beam covers a much wider area with softer edges. In practice, the angle affects three things at once: spread, emphasis and spacing.
For a product display in Rosebank or Sandton, a narrow beam can pick out one item or feature wall. In a restaurant in Durban, a wider beam may be better over tables so the light feels calmer and less harsh. In a home in Pretoria, beam choice can change the feel of a passage, kitchen island or artwork wall without changing the fittings themselves.
The main mistake is to choose on looks alone. Two fittings that both look neat on the ceiling can perform very differently once they are switched on. That is why beam angle should be decided with the surface height, colour of finishes and use of the room in mind.
How to choose the right beam for each task
Start by asking what the light must do. Is it meant to highlight a logo, wash a wall, light a dining table or give general room light? The answer points you toward the beam angle, not the other way around.
- Narrow beams are suited to highlights, feature walls, art, signage and high shelves.
- Medium beams work well for counters, circulation areas and balanced accent lighting.
- Wide beams are useful for general coverage, lower ceilings and broad wall washing.
In a shopfront, a narrow beam can bring attention to a mannequin or special display without lighting the whole window the same way. In a restaurant, a medium beam over each table can define the space and still keep the room comfortable. In a home, wide beams in living areas can reduce the number of fittings needed, especially where ceiling heights are standard.
Beam angle should also work with the fitting height. The higher the light is mounted, the wider the beam often needs to be. A beam that looks good at 2.4 metres may feel too narrow at 4 metres, and then you start adding more fittings than necessary.
Simple spacing rules that help avoid dark gaps
Spacing depends on beam width, ceiling height and surface reflectance. Dark finishes absorb more light, so they usually need either a wider beam or closer spacing. Glossy walls and pale ceilings bounce more light back and can make the same beam feel stronger.
A useful field rule is to think in circles. If the light circle is too small for the distance between fittings, you get pools of light with dark gaps in between. If the circles overlap too much, the space can feel flat and overlit. The aim is controlled overlap, not complete uniformity in every case.
- Measure the ceiling height and the height of the target surface.
- Check whether the surface is dark, pale, reflective or textured.
- Lay out the fitting positions before fixing anything permanently.
- Test the beam on site if possible, because drawings alone can miss glare and shadows.
For Johannesburg retail spaces, where shopfront glass and polished floors are common, spacing needs to account for reflections. In coastal areas like Umhlanga or Durban, humidity and salt air can also affect fitting choice, so the plan must suit the actual product and installation method too.
Beam angles for shopfronts, restaurants and homes
Different spaces need different beam behaviour. A shopfront often needs a stronger accent beam to create depth and draw people in from the pavement. A restaurant usually needs softer pools of light with enough contrast to separate tables, bar areas and feature walls. A home may need a mix of beam angles in the same room, especially where one space serves cooking, reading and entertaining.
For shopfronts in Sandton, Midrand or Cape Town, a narrow beam can make signage and key merchandise stand out after dark. For restaurants in Pretoria or Durban, medium beams over dining areas help keep faces visible without creating glare on glassware or glossy tables. In homes, beam angle can be used to make a passage feel longer, a kitchen more practical, or an artwork wall more intentional.
Exterior beam choice matters too. A wide beam on a patio can light the area evenly, but if it spills into neighbours properties or causes unwanted glare it can cause problems. Municipal rules and body corporate requirements should be checked before final installation, especially for visible shopfronts and residential complexes.
A practical site checklist before you specify fittings
Before you order fittings, walk the site and work through the basics. Good beam planning comes from measuring, observing and testing, not guessing. This is where many lighting issues are avoided before they cost time and extra labour.
- Confirm ceiling height, surface colours and any architectural features that must be highlighted.
- Note where daylight enters, including windows, skylights and glazed fronts.
- Check for reflections from mirrors, polished counters or glossy tiles.
- Allow for load shedding and decide whether the space needs backup lighting or control settings for low power use.
- Identify any dimming or control needs before specifying the beam, because some fittings perform differently at lower output.
If a space has multiple uses, like a restaurant that also hosts functions, choose beams that can handle more than one layout. A flexible plan often beats a single fixed setting that only works at one time of day. Small changes in beam width can make a big difference, and sometimes that is all a room needs.
Common beam angle mistakes to avoid
The most common mistake is putting the same beam angle everywhere. That can make a room feel one-dimensional and it often wastes light on surfaces that do not need it. Another mistake is using a beam that is too narrow for a low ceiling, which creates hot spots and glare.
People also forget that a beam changes with the surface it hits. A narrow beam on a textured wall can look beautiful, but the same beam on a shiny surface may create a bright patch that feels uncomfortable. The best result comes from matching the beam to the material, height and use of the space.
Do not ignore maintenance either. Dusty lenses, poor aiming and loose fittings can all change the effective beam once the installation is in use. Post install focusing is often worth the time, especially in a shopfront or restaurant where the visual effect matters every day. A good lighting plan should still look right after a few months of normal use, not only on installation day.
Why beam testing matters before final sign-off
Drawings can show positions, but they cannot fully show the feeling of a beam on site. That is why mockups, samples and practical testing are so important. A fitting may have the correct specification on paper, but the actual light can feel too tight, too wide or too harsh once it is mounted.
Testing helps you compare options against real finishes, real ceiling heights and real daylight. It also helps the client see how the space will behave at night, during load shedding, and when controls are dimmed for atmosphere. In many projects, a small change in beam angle saves having to rework spacing later.
For businesses and homes across Johannesburg, Pretoria, Cape Town, Durban and Umhlanga, the right beam angle is usually the one that makes the space feel clear without drawing attention to the fittings themselves. That is the point where good lighting stops being noticed and starts doing its job properly.