
What pergola downlights are used for
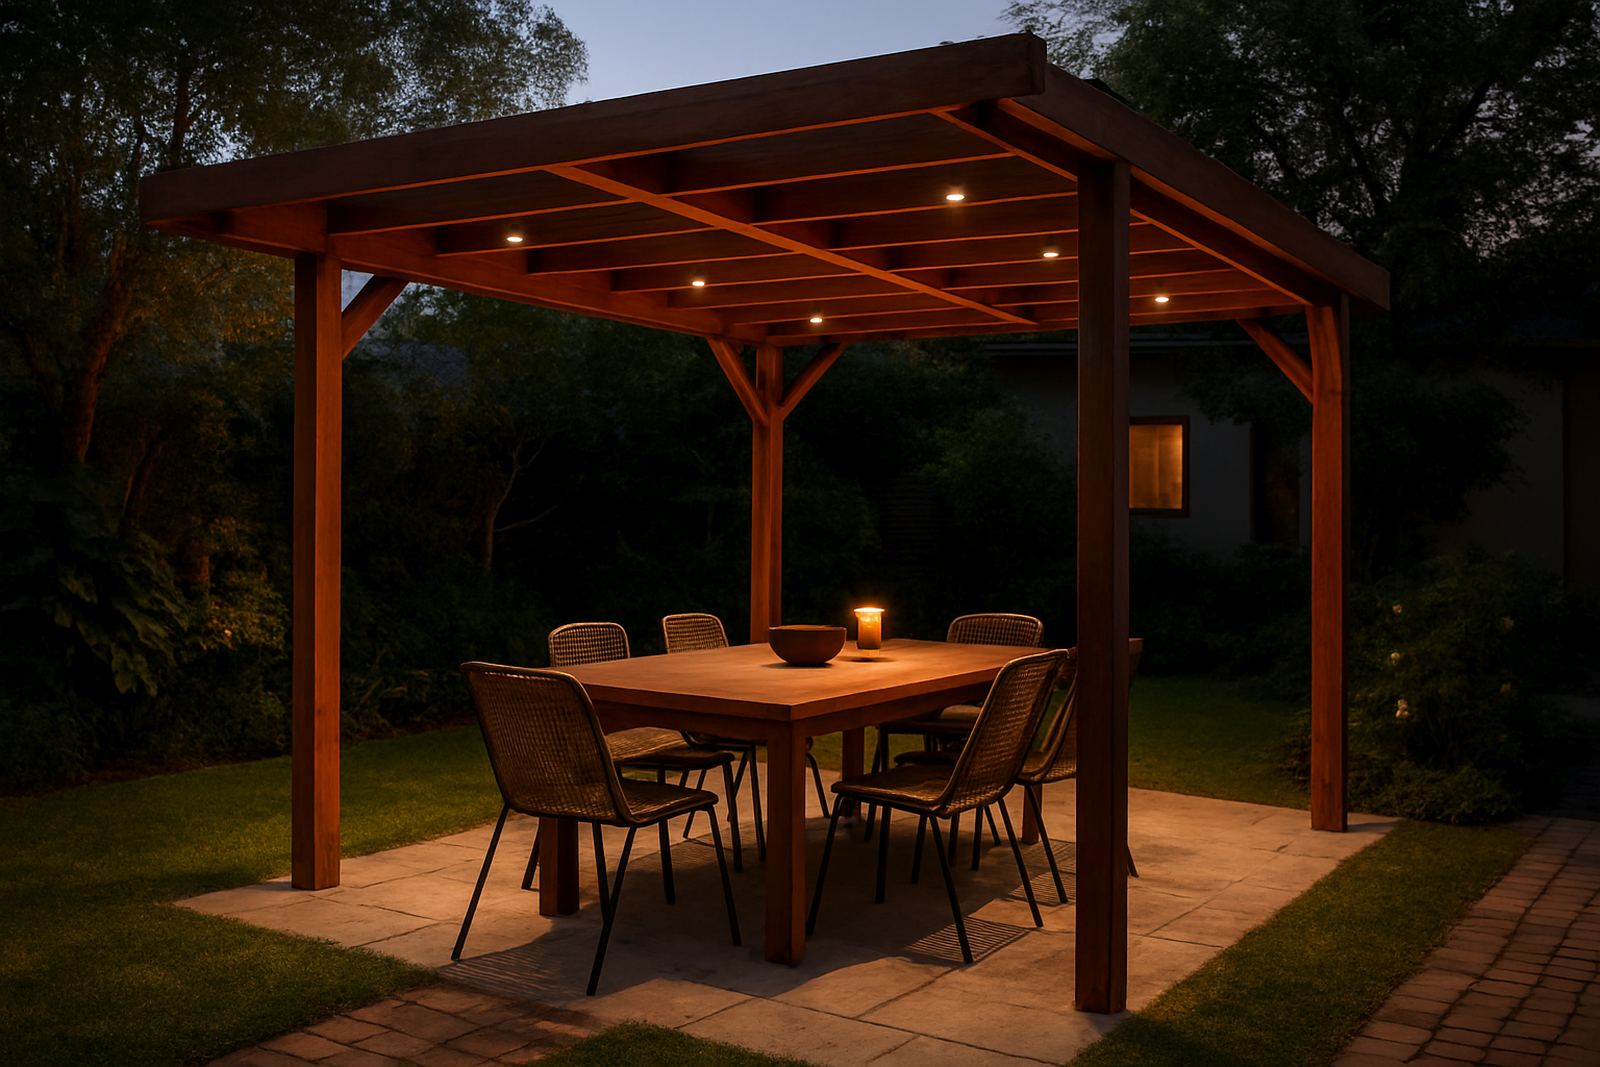
Pergola downlights are compact outdoor light fittings set into, fixed onto, or mounted beneath pergola beams to throw light downwards onto tables, walkways, counters and seating areas. The aim is simple: enough light to eat, move and socialise comfortably, without glare in the eyes or bright fittings hanging in the way. In Johannesburg and Pretoria, where evenings can be dry and crisp, they help keep decks and patios usable for longer. In Cape Town, Durban and Umhlanga, the right finish and sealing matter even more because of coastal air and humidity.
For homes, they can define an entertainment area and make an outdoor room feel finished. For restaurants and coffee spots, they help create a controlled mood while still meeting practical light levels for staff and guests. On shopfront canopies or outdoor waiting areas, they can guide customers in from the street and improve visibility at night.
- Downward light for tables, pathways and seating
- Cleaner sightlines than hanging pendants in low pergolas
- Suitable for timber, powder-coated steel and aluminium structures
- Can be spaced evenly for a formal look or grouped for a softer pattern
Sizes, beam spreads and finish options
Most pergola downlights are specified by cut-out size, body depth, beam angle and colour temperature. Smaller fittings suit neat beam spacing and low profiles, while larger apertures can give broader coverage with fewer points. A shallow fitting is useful where the pergola has limited depth, and a deeper body may be better if there is enough space above the ceiling line or beam cover.
Common size choices include compact 50 mm and 70 mm aperture fittings, with larger 90 mm options for wider spread or stronger output. Beam angles usually range from narrow 24 degree spots to wider 60 degree floods. For outdoor dining, a 36 degree to 60 degree beam often works well because it lights the table without creating harsh circles on the floor. Colour temperature can be selected to suit the mood and material palette, from warm white around 2700K to 3000K, through to a cleaner 4000K where a more functional look is needed.
- Trimless or lipped face options, depending on the structure finish
- Black, white, charcoal or custom powder-coated surrounds
- IP rated fittings for outdoor exposure
- LED light sources for lower running cost and less maintenance
Where they suit best in South African spaces
Pergola downlights suit timber pergolas, slatted shade structures, covered braai areas, balcony covers and restaurant terraces. They are especially useful where there is a need to balance atmosphere with task lighting, such as service counters, outdoor bars and family dining zones. In windy coastal towns, enclosed or well-rated fittings help reduce dirt build-up and keep the look tidy for longer.
For hospitality spaces, spacing and dimming are important. Too much light makes the area feel exposed, while too little can make menus hard to read and surfaces difficult to clean. In homes, a row of downlights across the main dining zone with lower output at the edges usually gives a more comfortable result. We also look at nearby glazing, reflective paving and dark garden walls because these change how bright the space feels at night.
- Private homes with patios, braai rooms and poolside pergolas
- Restaurants, wine bars and cafés with outdoor seating
- Shopfront forecourts, customer waiting areas and canopies
- Guesthouses and boutique accommodation with evening dining areas
Power, control and load-shedding planning
Most pergola downlights run on 230V mains power, with low-voltage systems also used where the layout calls for longer cable runs or specific control gear. In both cases, the wiring route must be planned before the structure is closed up, because access later can be difficult and costly. On new pergolas, it is best to allow for conduits, driver positions and inspection access from the start.
If the area will be used during load-shedding, add backup planning early. That may mean connecting the pergola lights to an inverter circuit, or choosing a section of the lighting layout that can remain on while the rest of the space is off. Dimming is useful here too, because it helps stretch battery supply and gives you more control over the scene. Where outdoor cooking is involved, keep the lighting clear of heat sources and allow space around braai flues, gas heaters and extractor points.
- Confirm whether the circuit will be mains, inverter-backed or solar assisted
- Check where the driver or control gear will be mounted for maintenance access
- Allow separate switching for dining, perimeter and feature lighting
- Keep a safe distance from gas appliances, heaters and hot exhaust points
Installation details that affect the final result
Good pergola lighting depends on the build quality as much as the fitting itself. The installer needs to confirm beam positions, ceiling depth, waterproofing points and cable entry before holes are cut. If the structure is timber, careful sealing around each opening helps protect the wood. If the pergola is steel or aluminium, grommets and proper clamps reduce vibration and prevent cable wear.
We usually check the spacing against table layout, door positions and furniture movement. A fitting placed directly above a chair can feel uncomfortable, while one set too close to a beam may throw an awkward shadow. For restaurants and homes alike, the goal is a neat pattern that looks intentional in the daytime and gives even light at night. Small alignment errors are easy to see once the lights are on, so a proper mark-out saves a lot of correction later.
- Use outdoor-rated cable, glands and fixings
- Confirm the structure can support the fitting weight and any accessories
- Test the beam pattern before final fixing where possible
- Allow access panels for future servicing and driver replacement
Care, cleaning and servicing over time
Outdoor fittings need regular attention, especially in coastal areas and near busy braai spaces where smoke, dust and grease can collect. A soft cloth, mild detergent and a dry wipe are usually enough for the lens and trim. Avoid harsh chemicals that can cloud the cover or mark the finish. If the pergola is near trees, leaves and insects can also build up around the fittings after heavy wind or rain.
For long-term reliability, check seals, screws and mounting points at least twice a year. Look out for flicker, dimming, water marks or colour shift, since these can point to moisture ingress or driver issues. If the structure has been repainted or repaired, the fittings should be reviewed as part of the same maintenance cycle. A quick service now is usually far easier than a full replacement later.
- Clean lenses gently every 4 to 8 weeks in high-use areas
- Inspect seals after heavy rain or pressure washing
- Replace failed drivers, lamps or modules as a set where needed
- Re-focus or re-angle fittings after furniture changes
What to check before placing an order
Before ordering pergola downlights, gather the basic measurements and usage details so the spec can be matched to the space. The pergola width, beam spacing, ceiling depth and intended furniture layout all affect the final selection. It also helps to know whether the area is for private dining, high-turnover hospitality use, or a mixed home and entertainment setting. That detail changes the required brightness and control method.
Also check the finish of the structure, because black fittings on a dark pergola can almost disappear by day, while white or light finishes can feel more visible but may suit a bright courtyard. If the area is exposed to wind, salt air or regular cleaning, ask for a suitable IP rating and corrosion-resistant finish. If the project is in a municipal area with fixed sightlines or shared access, it is worth confirming that the lighting does not spill into neighbouring property or create glare at boundary lines.
- Exact pergola dimensions and beam positions
- Preferred mood: warm, neutral or more functional light
- Power source, control method and backup plan for load-shedding
- Exposure level: inland, coastal, covered or fully open
- Any gas braai, heater or extractor locations nearby
Key facts
| Product type | Outdoor recessed or surface-mounted downlight for pergolas |
|---|---|
| Typical aperture sizes | 50 mm, 70 mm and 90 mm options |
| Colour temperature | 2700K, 3000K or 4000K |
| Beam angles | 24 degree, 36 degree or 60 degree |
| Ingress protection | Outdoor rated, specify IP65 or higher where exposed |
| Power and control | 230V mains or low-voltage with dimming and backup integration |