
Why Side Lighting Works Better Than Straight-Down Light
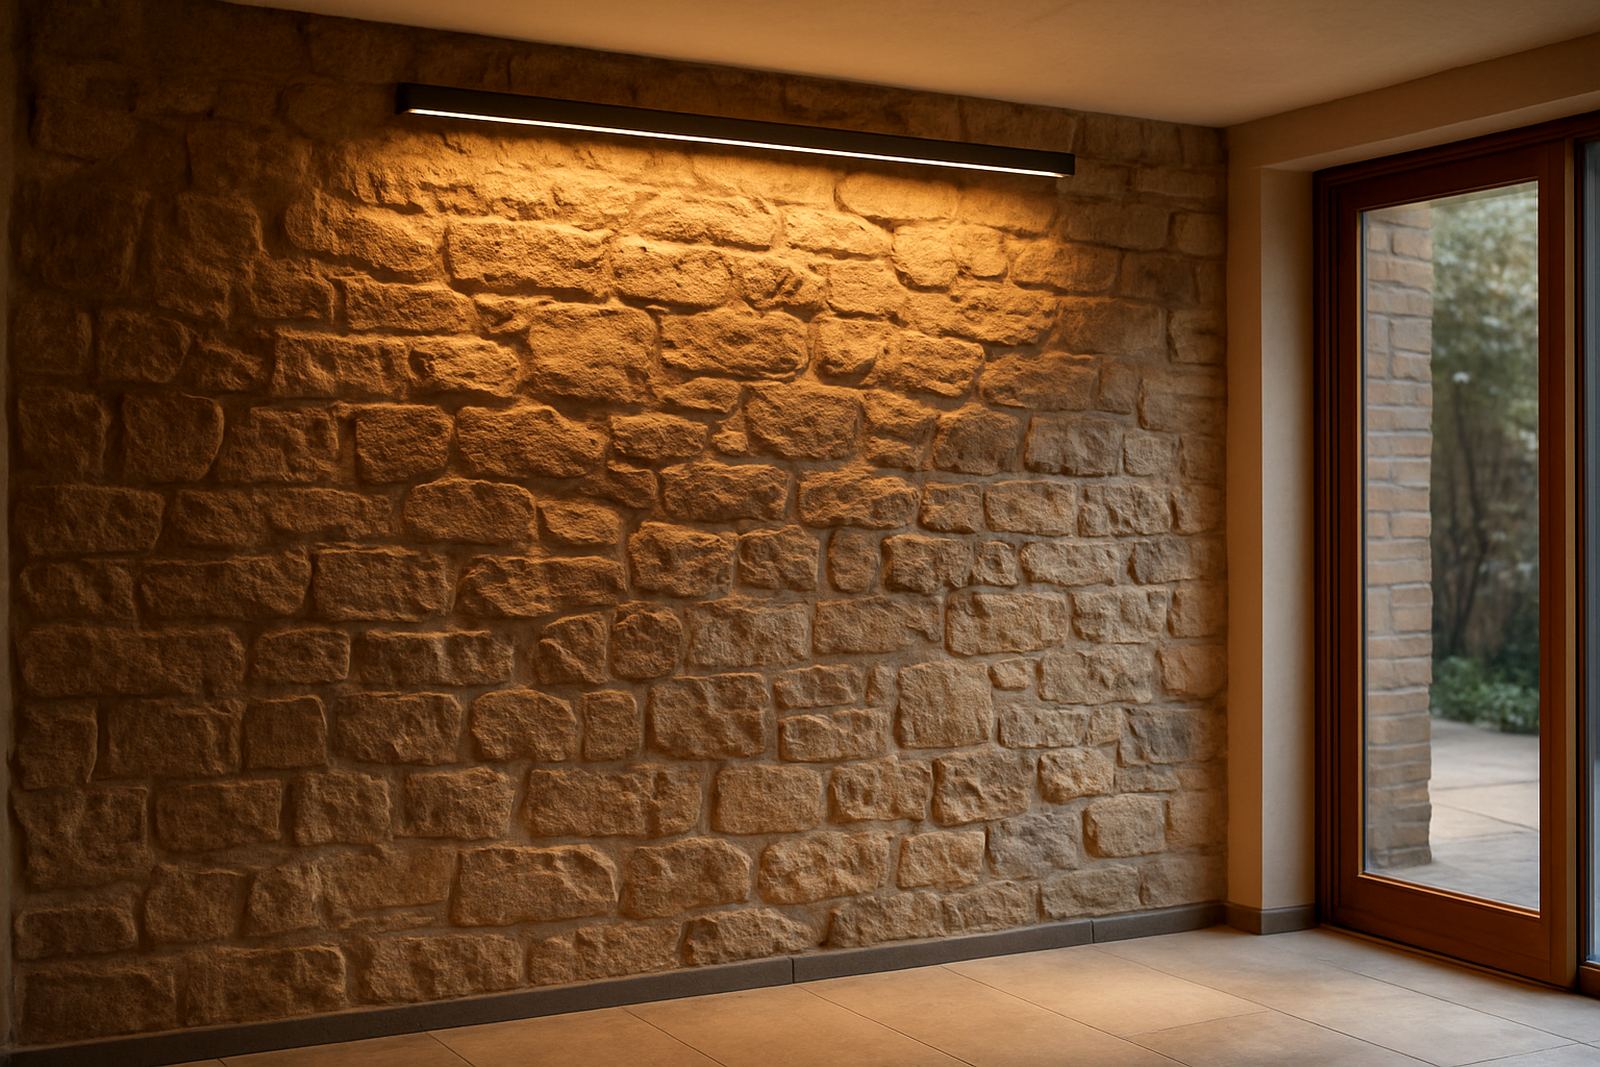
When light comes straight down from a ceiling, a textured wall often reads as a flat surface with a few shadows here and there. Move the light closer to the wall and angle it across the face of the material, and the small highs and lows start to show. That is the simple value of raking light. It finds the surface, picks up relief, and gives the wall depth even in a space with modest ceiling heights.
This matters in South African homes and businesses where walls are often finished in bagged brick, cladding, rough plaster or split-face stone. In a Sandton restaurant a warm side wash can make a feature wall feel inviting at night, while in a Rosebank shopfront the same approach can help signage, display shelving and texture work together instead of competing for attention.
Choose the Right Texture Before You Choose the Fitting
Not every surface suits the same treatment. Fine textures usually need softer beam control, while deep textures can take a stronger graze. The trick is to match the light to the wall rather than forcing the wall to carry the light.
- Stone and brick: Use narrow to medium beam fittings set close to the wall so joints and edges appear crisp.
- Plaster finishes: Aim for a gentler angle because too much contrast can show every mark, patch and ripple.
- Timber slats: Keep spacing and aiming consistent, otherwise the pattern will look uneven at night.
- Painted feature walls: Test first, since smooth surfaces can show glare if the fitting is too bright or too close.
We often recommend a site lighting audit before committing to fittings, especially on older buildings where wall condition varies. In some cases the wall has a stronger texture than the client realises and one sample can save a lot of rework later.
Placement Rules That Make the Wall Look Intentional
Good textured wall lighting depends on placement more than fancy fittings. A wall washed from the wrong position can flatten the finish or produce hotspots that look messy after dark. As a guide, the fitting should usually sit close enough to rake across the surface, but not so close that the beam becomes a bright stripe.
For many interior applications, the light source is placed low on the wall or near the edge of the feature, then angled to skim across the surface. Exterior shopfronts often need a more controlled arrangement because the wall may also face passing traffic, security cameras and street spill. In coastal areas like Umhlanga and Durban, fixture position also needs to take salt air and driving rain into account.
- Check the viewing angle from both standing and seated positions.
- Keep fittings away from direct glare into the eyes of guests or customers.
- Allow for access if the fittings need cleaning after dust or coastal build-up.
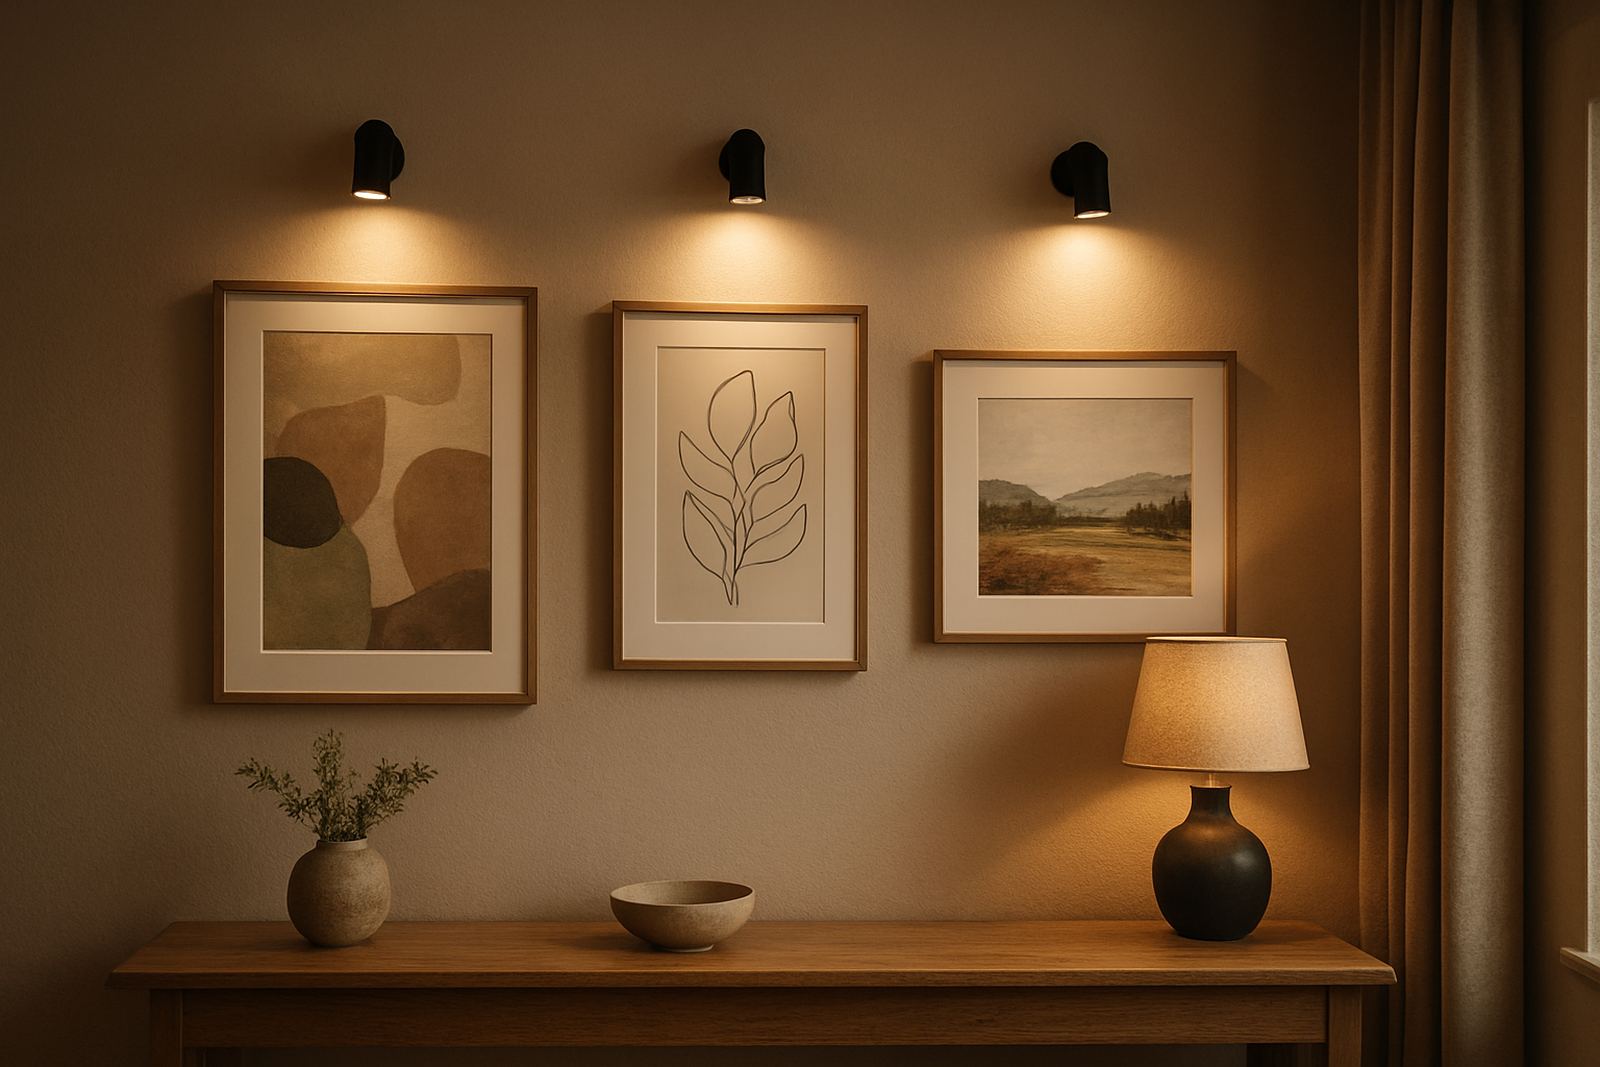
- Coordinate with ceiling coves, signage and artwork so the wall does not feel crowded.
Colour Temperature Changes the Mood of the Surface
The same wall can feel warm and rustic or cool and architectural, depending on the colour temperature used. Warm light tends to suit brick, timber and restaurant settings where comfort matters. Cooler light can work well in galleries, retail entries and modern homes where the wall finish needs a cleaner look.
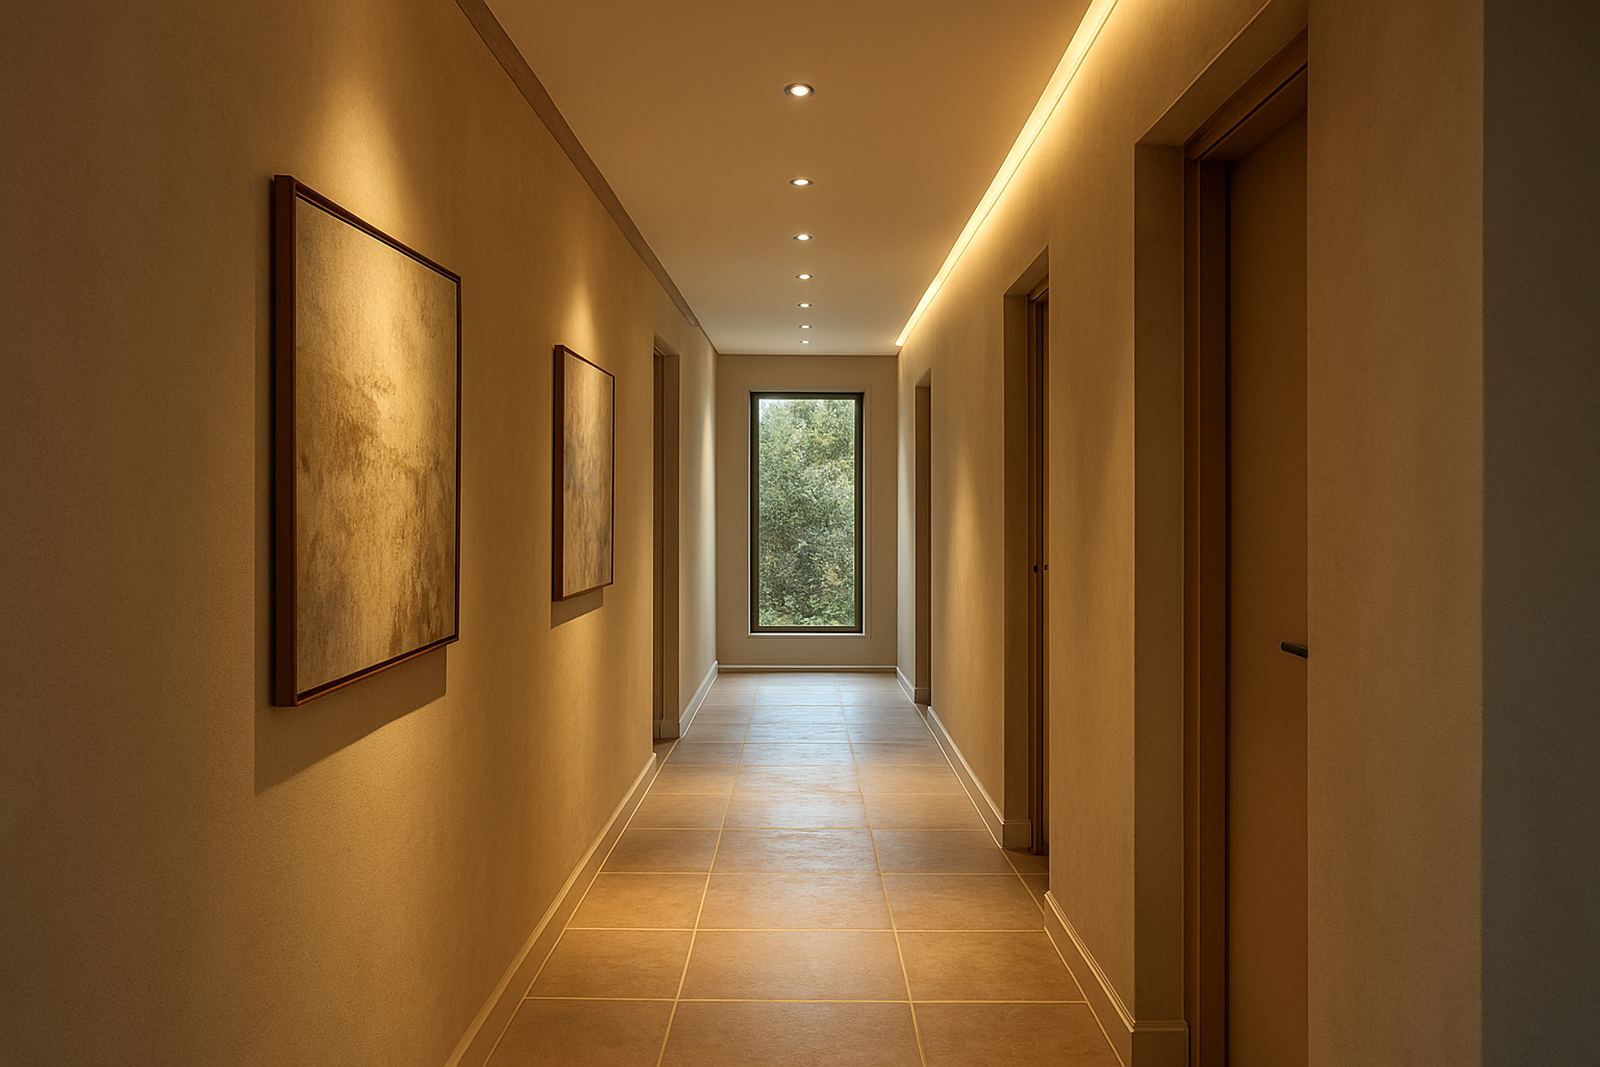
In practice, many projects need a mixed approach. A restaurant in Pretoria might use warmer light on a textured feature wall behind banquette seating, then slightly cooler light near the bar for clarity. A home in Cape Town may use warm light for a living room plaster wall and a more neutral tone in a passage where family photos and artworks hang. The finish should still look like itself at night, not like a different material altogether.
Control design also matters here. Dimming lets the wall work for dinner service, daytime trading or quiet evenings at home without changing the fittings. That saves energy and helps during load-shedding too, if the lighting plan is paired with the right backup supply.
Local Example: A Rosebank Restaurant With a Brick Feature Wall
One practical example is a Rosebank restaurant with a long internal brick wall running beside the main dining area. During the day the surface was visible, but at night it disappeared into the background and the room felt unfinished. The solution was not to add more general light. Instead, the wall was treated as its own lighting task.
We used a line of carefully aimed fittings to graze the brick from one end, with levels adjusted so the joints stayed visible without creating hard glare on the tables. The same wall then carried the room after dark, giving the space identity and helping the menu boards, table settings and wine displays feel more deliberate. It made the restaurant look organised, not overlit.
That is often the difference between a wall that simply exists and one that actively shapes the room. The finish becomes part of the design language.
Outdoor Texture Needs More Protection and More Control
Exterior walls ask more of the lighting plan. Wind, rain, dust and municipal considerations all affect what can be installed and where. In Johannesburg and Pretoria, entrance walls often need lighting that supports both branding and security. In Cape Town and coastal KwaZulu-Natal, corrosion resistance and proper sealing are not optional, they are essential.
For shopfronts, raking light can also help a business stand out after dark without flooding the entire façade. That is useful in mixed retail streets where neighbouring tenants may have different opening hours and different signage rules. A controlled wall wash keeps the look tidy and makes the building feel cared for.
- Check whether the wall finish can handle heat from the fitting.
- Use suitable outdoor-rated gear for exposed areas.
- Plan cleaning access for dust, insects and coastal residue.
- Match light levels to nearby signage and window display brightness.
Getting the Balance Right Starts With a Lighting Plan
Textured wall lighting is at its best when the plan starts with the wall itself, not the fitting catalogue. Measure the surface, note the material, test the angle and decide what the wall should do in the space. Should it draw attention, soften the room, or help guide people through a passage or entrance? Once that answer is clear the rest becomes easier.
Our team in Rosebank works on architectural and decorative lighting for homes, restaurants and shopfronts across Johannesburg, Pretoria, Midrand, Cape Town, Durban and Umhlanga. We handle concept design, fixture specification, layout plans, control design, 3D lighting visuals, mockups and installation coordination, with post install focusing when needed. For textured walls, that process helps make sure the surface looks intentional from day one, not after a few changes and guesswork.
Whether the wall is brick in a suburban home, plaster in a reception area or stone in a restaurant, the aim is the same: reveal the material, manage the shadows and keep the space practical at night.