
Why ceilings and lighting must be planned together
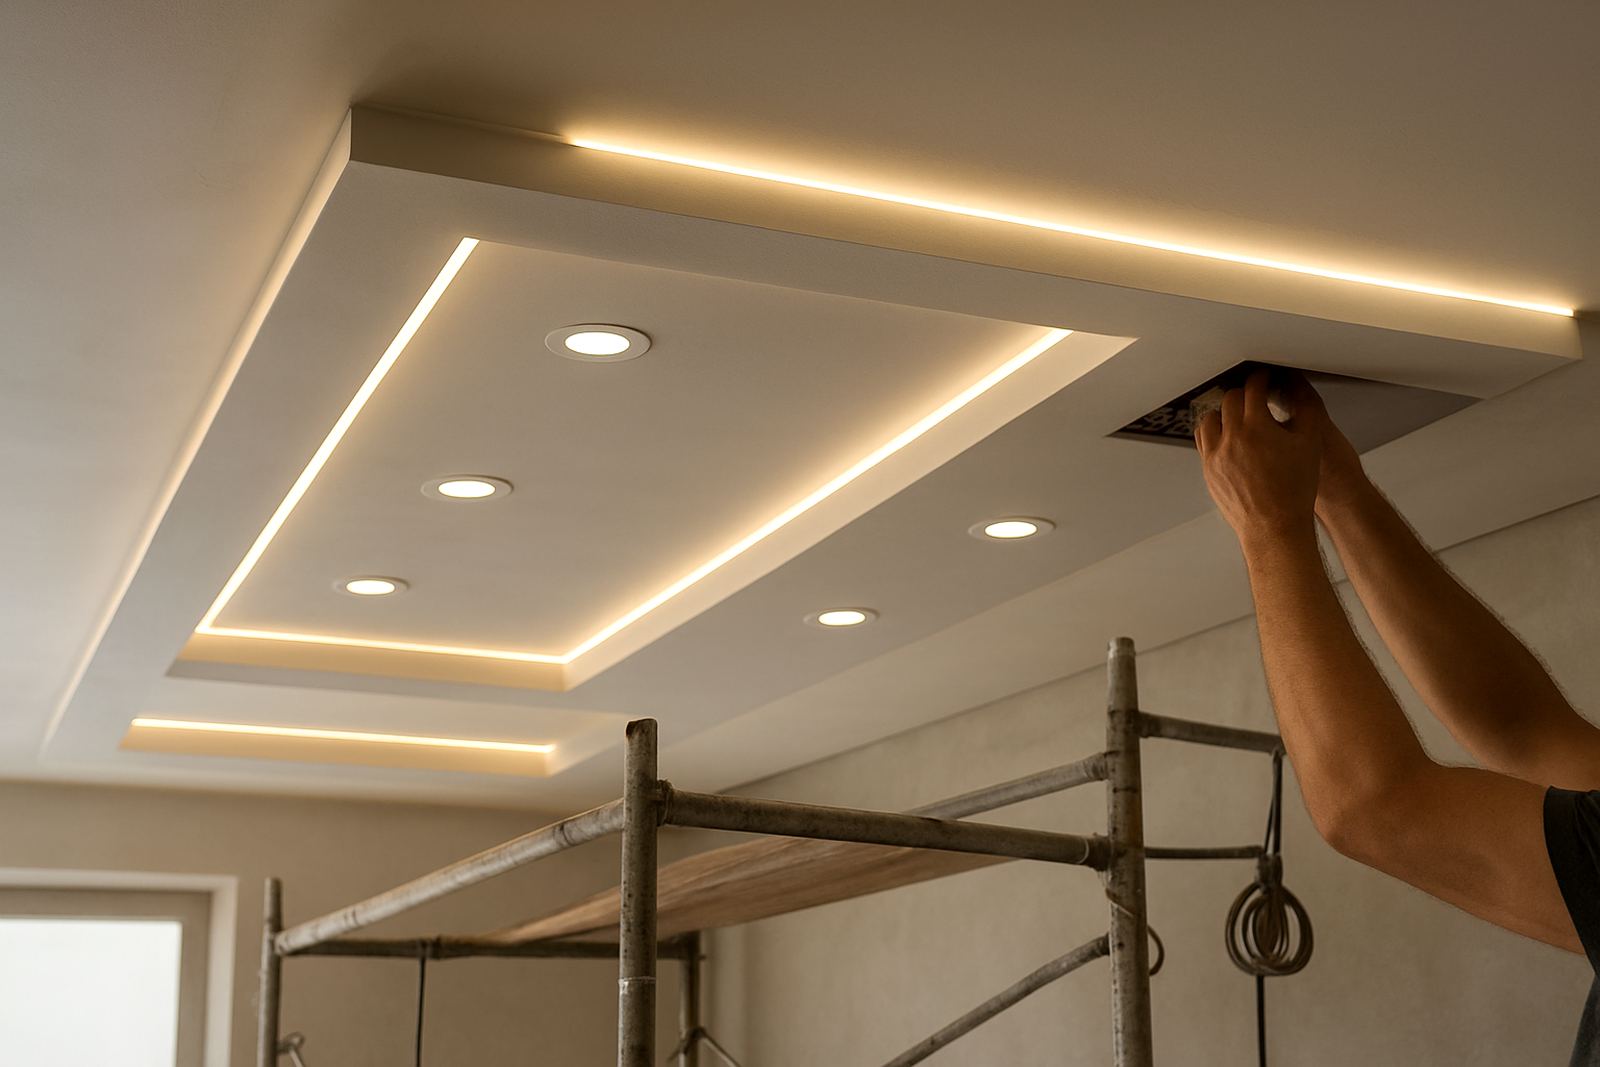
A ceiling is not only a surface to close in the roof space. It sets the line for downlights, pendants, bulkheads, coves, access panels and aircon grilles, so one decision affects the next. If the ceiling plan comes first and the lighting is added later, fittings often land in the wrong places, beam angles miss the intended feature, and the room starts to feel busy.
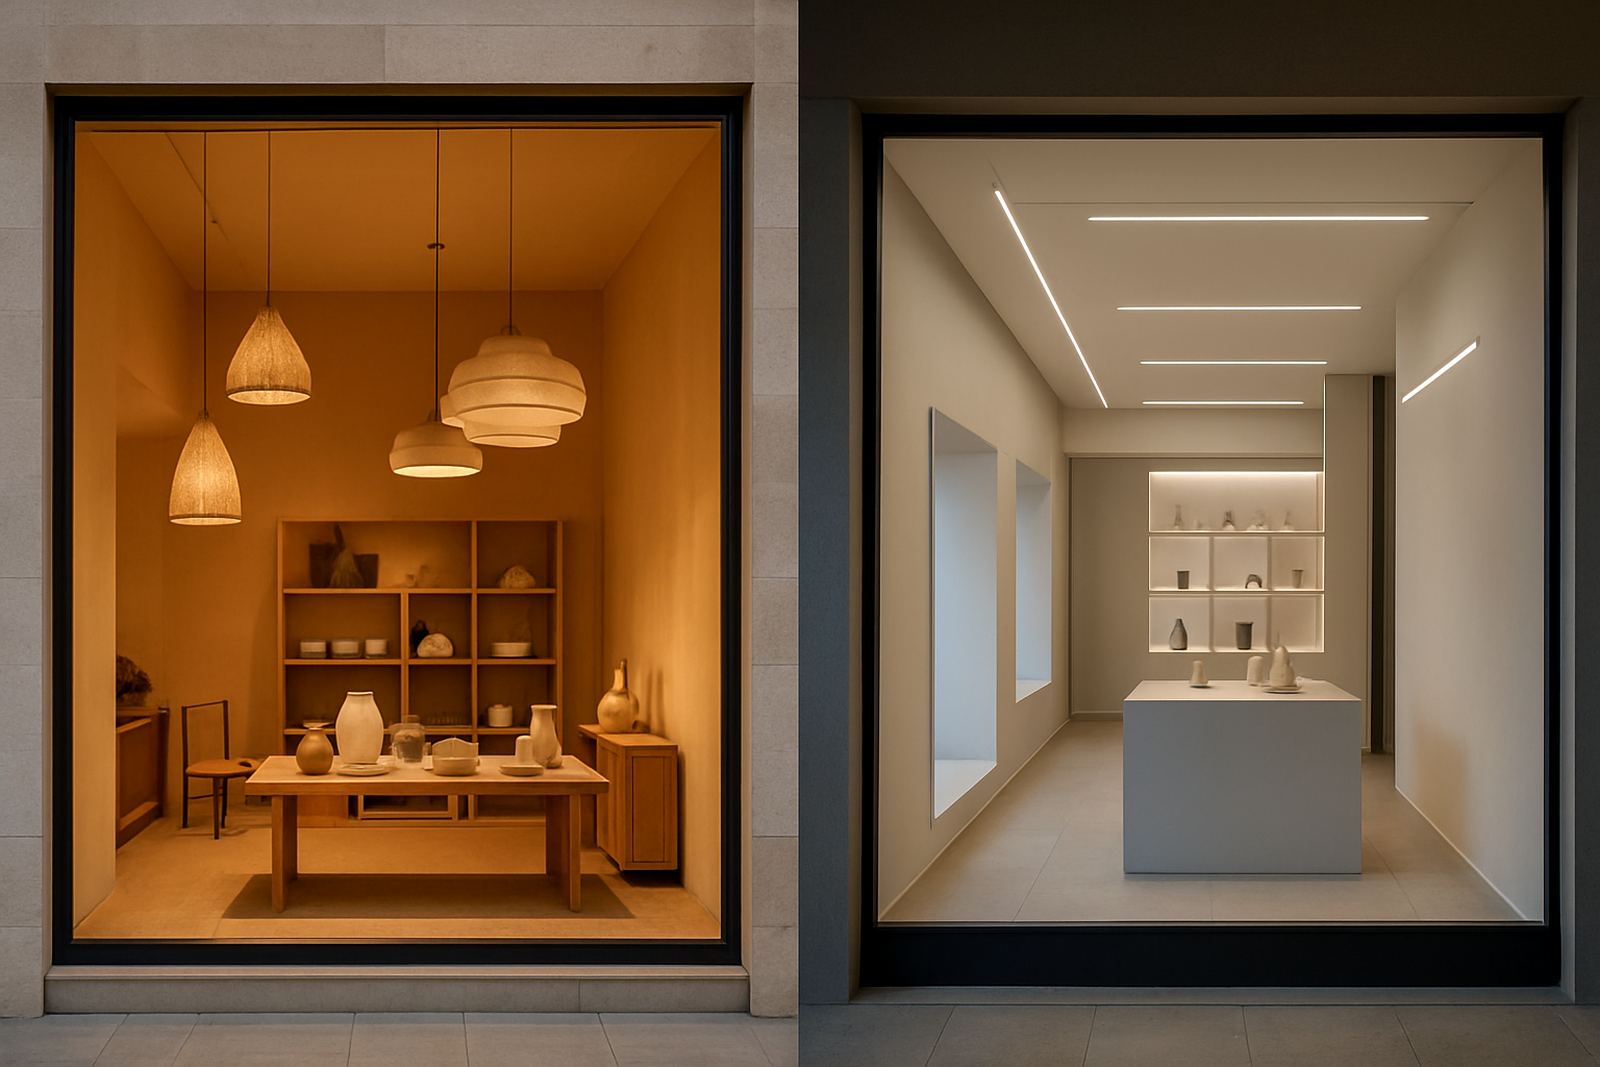
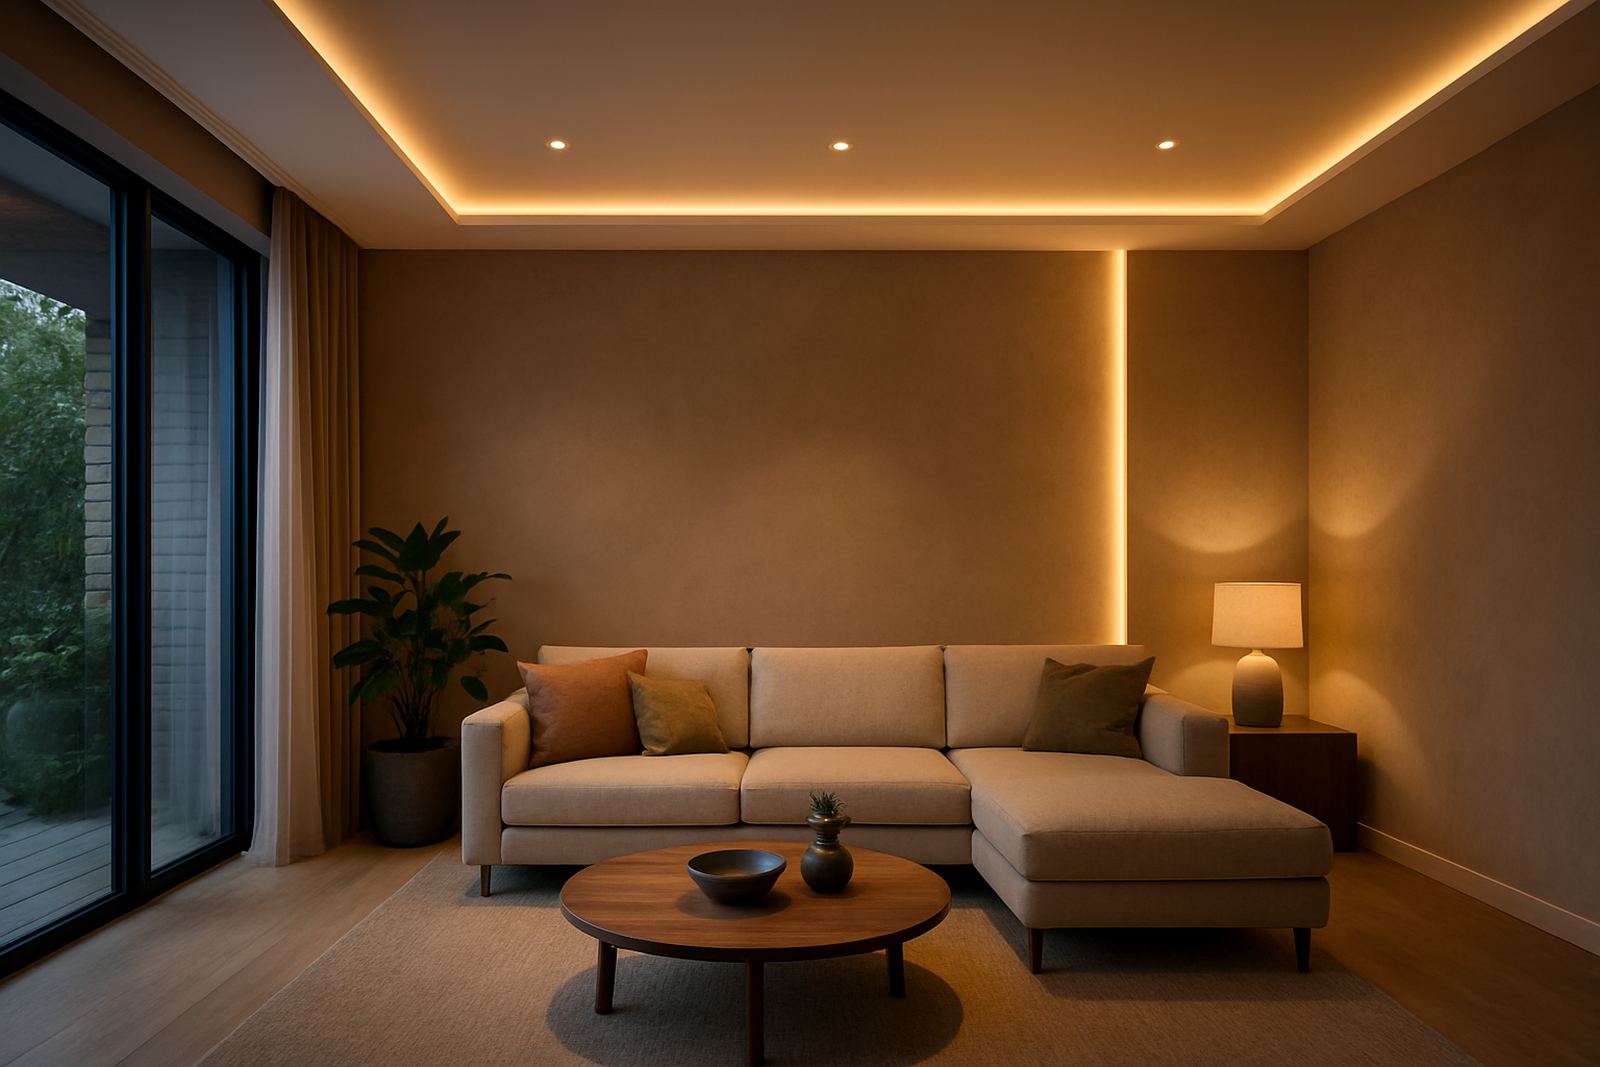
For shopfronts and restaurants, this matters even more because the ceiling also supports the customer experience. A clean ceiling line helps the space feel ordered, while the lighting must guide the eye to products, tables or service points. In homes, the same principle applies in kitchens, living rooms and passages where you want light that is useful without making the ceiling look cluttered.
- Set fixture positions before the ceiling is closed.
- Allow for access to drivers, dimmers and maintenance points.
- Match the ceiling form to the light pattern you want, not the other way round.
Common mistakes that cause patchy results
One of the most common errors is treating downlights as a default answer for every room. Too many fittings can create a dotted ceiling that looks heavy, while too few leave dark corners and uneven task lighting. Another issue is fixing a decorative ceiling detail first, then trying to squeeze light into whatever space is left. That usually leads to awkward spacing or glare.
In Gauteng homes, we often see double-volume spaces where the ceiling height changes but the lighting plan does not. In that case, the upper area can disappear at night while the lower seating area feels over lit. At the coast, humidity and salty air also affect fixture choice, so the ceiling plan needs to allow for fittings that are suitable for the environment, not just attractive on paper.
- Do not place fittings only by eye.
- Do not ignore ceiling heights, beams and bulkheads.
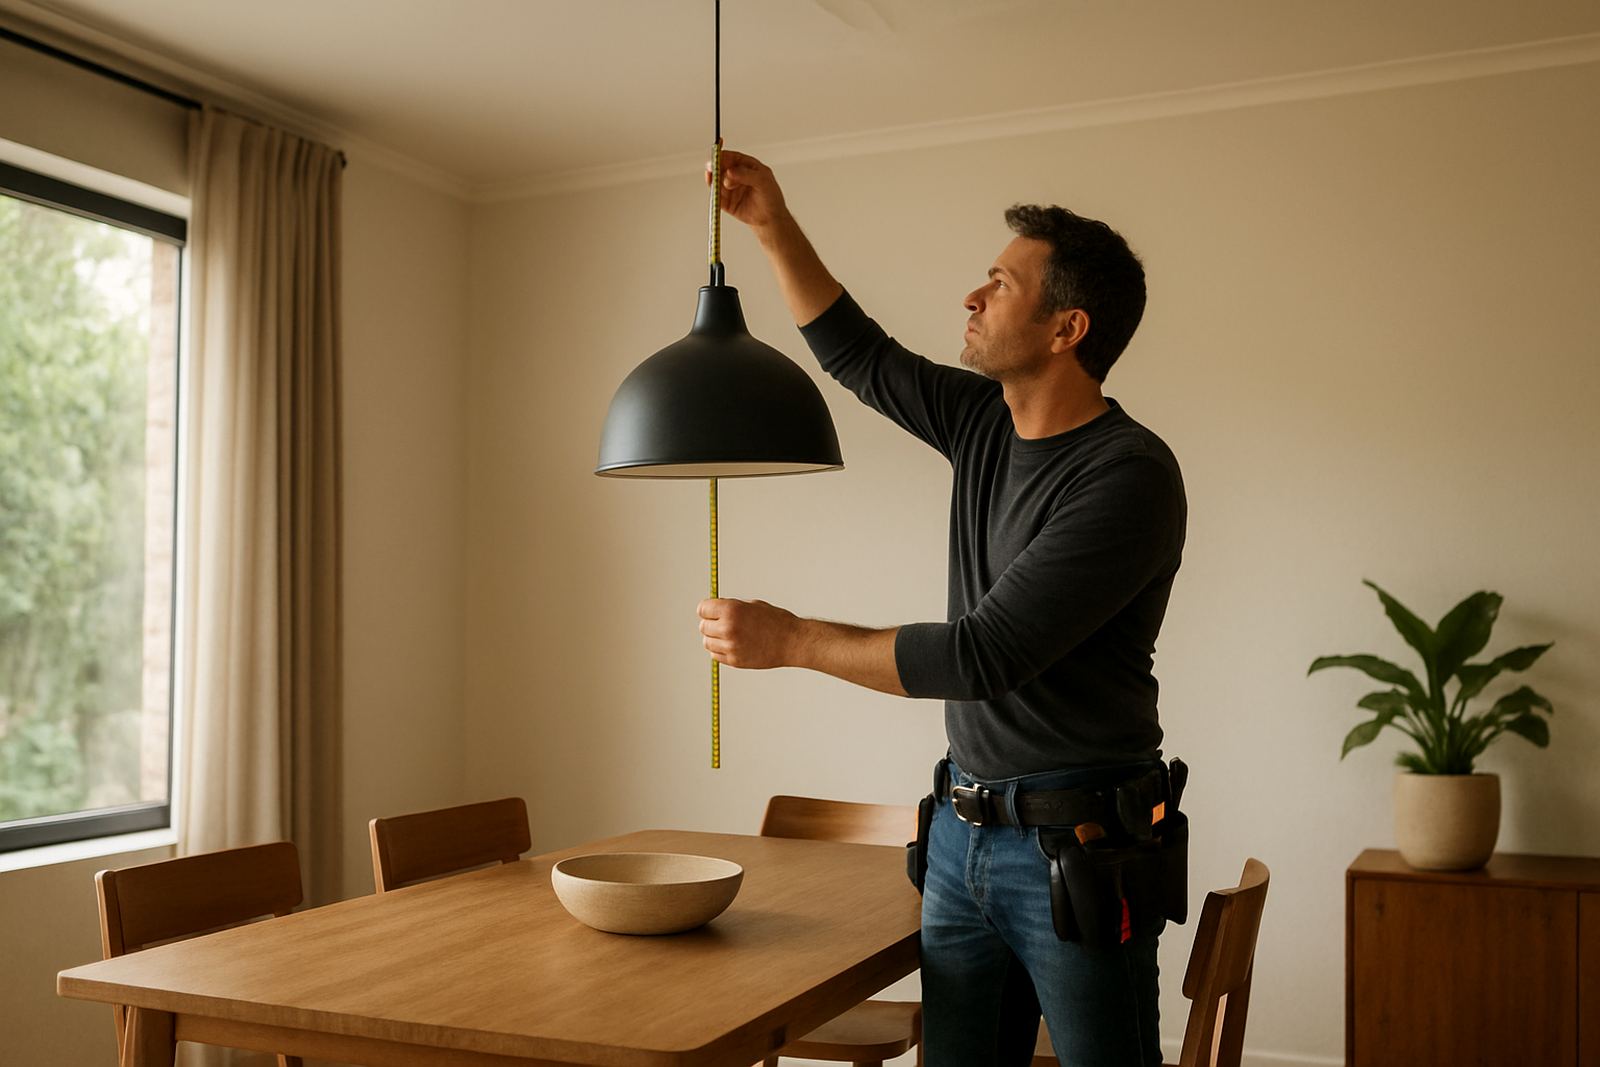
- Do not choose decorative fittings before checking maintenance access.
A practical planning order that works on site
The best projects start with how the space is used, then move into ceiling form and lighting layers. That means asking where people sit, walk, queue, cook, read or display stock. Once that is clear, the ceiling can be set to suit the functional zones and the fixtures can be spaced properly. This saves time during installation and reduces the need for changes once finishes are already in place.
For a restaurant, for example, a neat ceiling can hide services while leaving enough depth for focused dining light and softer ambient light. In a shopfront, the ceiling may need to carry display lighting, window emphasis and a more uniform wash toward the till point. On a residential project in Rosebank or Midrand, the same approach helps you keep living areas open and calm, while still making sure kitchen counters and stair landings are well lit.
- Start with space use and furniture layout.
- Confirm ceiling levels, bulkheads and service routes.
- Then set the light layers: ambient, task and feature.
How controls improve both appearance and energy use
Good lighting and ceiling design is not just about where the fittings sit. It is also about how they are controlled. Dimmers, scene settings and separate switching allow one room to work for daytime use, evening entertaining and after-hours cleaning. That is useful in South Africa where load-shedding and power costs are part of everyday planning.
A well thought-out control layout also stops the ceiling from looking overworked. Instead of adding more fittings, you can use fewer quality light points with the right beam spread and adjust them by zone. In open-plan spaces this makes a noticeable difference, because the ceiling stays cleaner and the room can shift from bright and practical to softer and more relaxed without changing the fittings themselves.
- Use separate circuits for task areas and feature areas.
- Plan for backup lighting where business continuity matters.
- Keep switches and dimmers in sensible, easy-to-reach positions.
Local example: a Rosebank restaurant with a cleaner ceiling line
On a recent restaurant project in Rosebank, the brief was simple: keep the ceiling calm, make the dining area feel intimate, and avoid visible clutter from services. The solution was to coordinate the ceiling drops with the seating plan, then place the lighting around the edges and over the tables rather than in one busy grid. The bar got stronger accent light, while the passage to the kitchens stayed functional but quieter.
That project showed how much difference early planning can make. Because the ceiling and lighting were resolved together, there was room for cables, drivers and maintenance access without disturbing the finish. The result was cleaner overhead lines and a more comfortable room, with less visual noise and better focus on the food and people, not the fittings.
For similar work in Sandton, Pretoria, Durban or Umhlanga, the same method helps when the brief includes shopfront display, hospitality flow, or a home that needs both style and practical light. It also keeps the installation team from making last-minute changes that can throw the whole ceiling out.
What Illumin8d looks at before any ceiling is closed
Illumin8d approaches each project as a lighting and ceiling coordination exercise. That includes site lighting audits, fixture specification, layout plans, control design, mockups and samples, installation coordination and post-install focusing. The aim is to make sure the ceiling details support the lighting plan, and that the lighting does its job without drawing attention to itself unless it is meant to.
Before sign-off, the team checks practical issues that often get missed. These include beam angles, ceiling depths, service access, reflectance from paint and plaster, and whether the finish will hold up in a coastal or high-traffic setting. If the space is a shopfront, restaurant or home, the end goal is the same: a ceiling that looks considered, and light that feels right all day and night. It is a simple idea, but it saves a lot of trouble later on.
- Concept Design for new spaces and refurbishments.
- Site Lighting Audits for problem rooms and retrofit work.
- Post Install Focusing to refine the finished result.