
Why kitchen lighting so often misses the mark
The kitchen is one of the hardest rooms to light well because it has several jobs at once. You need clear light for chopping, washing, cooking and reading labels, but you also want the room to feel warm enough for family meals and late coffee. When one fitting is asked to do all of that, the result is usually disappointing.
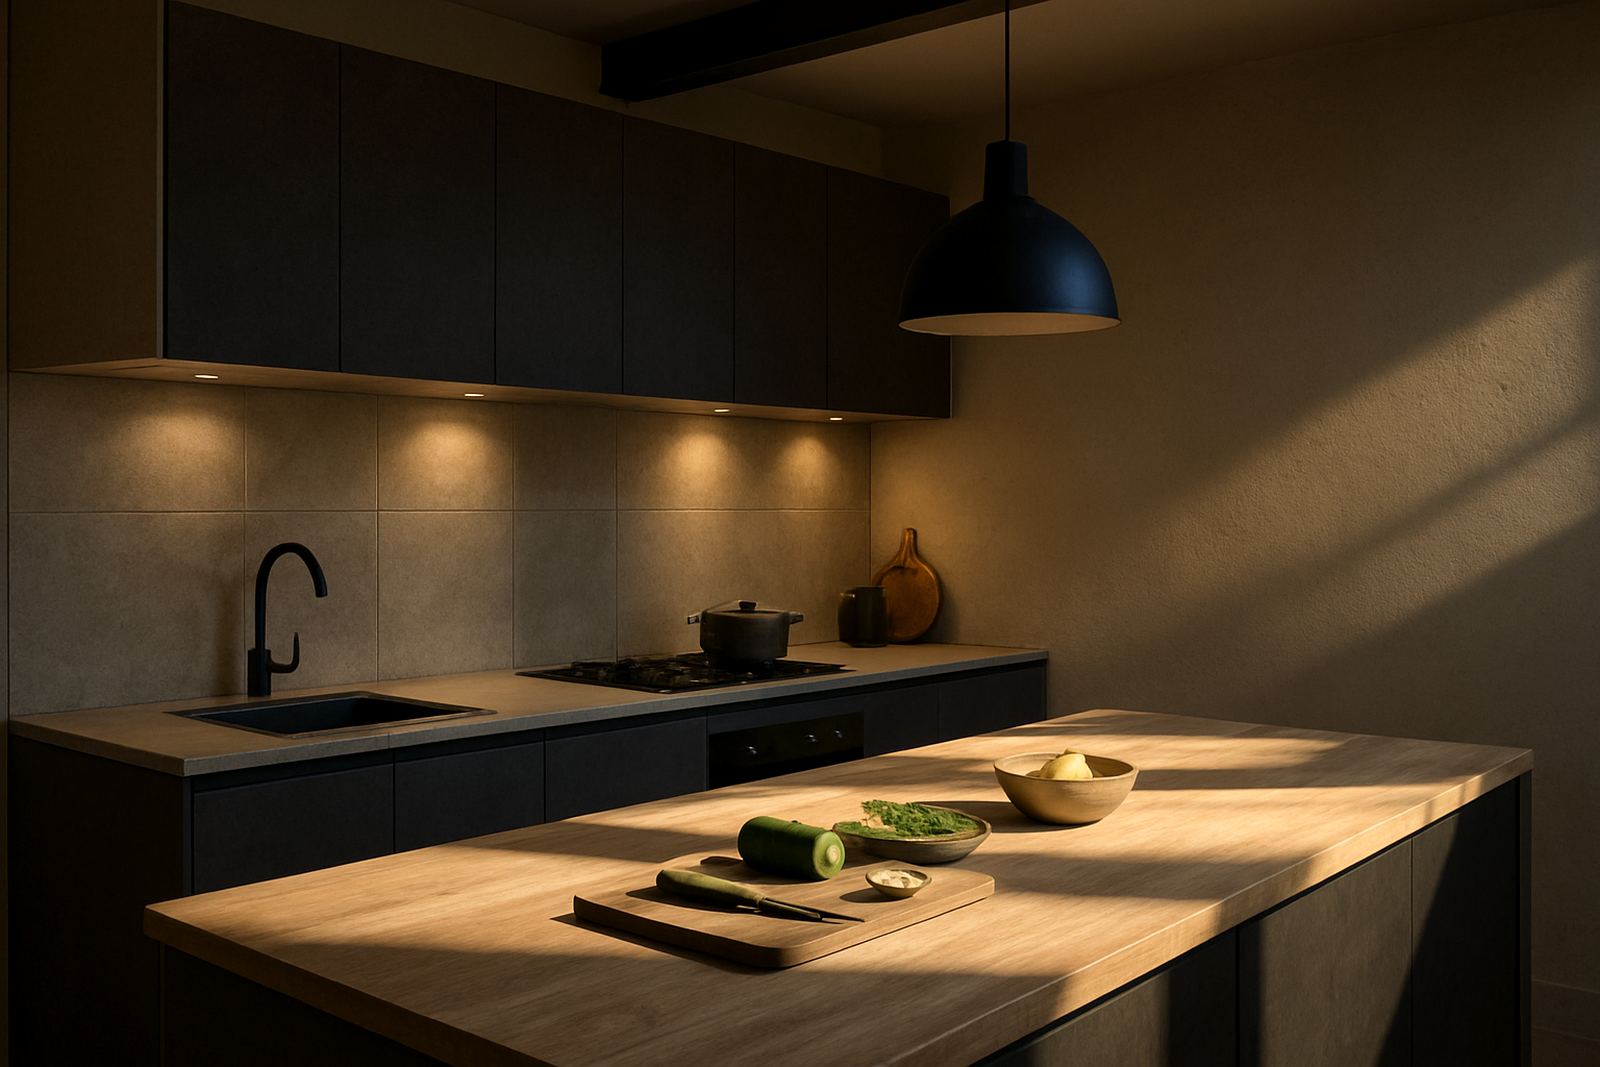
In many South African homes, the first mistake is assuming the ceiling light is enough. A single central fitting might light the middle of the room, but the counters, stove and sink often stay in shadow. That becomes a real problem in kitchens with darker finishes, long island counters or cupboards that hang low. The fix starts with understanding how the room is used at different times of day, then placing light where hands and eyes actually work.
The task lighting error that leaves benchtops in shadow
Good kitchen lighting begins with task coverage. If the prep area, sink and hob are not lit properly, people lean forward, miss details and end up working in their own shadow. This is common in open-plan homes in Sandton, Rosebank and Umhlanga where pendant fittings look attractive but do not reach the full counter depth.
The best approach is to layer light from several positions. Under-cabinet lighting is often the most useful because it lands directly on the work surface without brightening the whole room. Recessed fittings can help too, but only if they are placed in line with the edge of the counters and not directly above where someone stands.
- Place light over the sink, chopping areas and stove, not only in the centre of the room.
- Use fittings that spread light evenly across the full worktop depth.
- Check for shadows created by upper cabinets, extractor units or tall people standing at the counter.
- Test the room at night, because daylight often hides the problem during the day.
Glare from shiny surfaces and the wrong beam angle
Gloss cupboards, polished stone and stainless steel can reflect light in harsh ways. A kitchen may look bright on paper yet still feel uncomfortable because the fittings are too bare, too close to eye level or aimed straight at reflective surfaces. This is one of the most common complaints in modern kitchens with smooth finishes and pale walls.
Beam angle matters more than most people realise. A narrow beam can create a bright spot on a counter while leaving the rest of the room dull. A wide beam can spill light where it is not needed and produce glare off the splashback. The goal is controlled light, not maximum brightness. Diffused fittings, careful spacing and sensible aiming make a big difference, especially in homes where the kitchen opens into the lounge and dining area.
- Avoid placing exposed bulbs where seated guests can see them directly.
- Choose fittings with shields or diffusers if the counters have a high gloss finish.
- Keep downlights away from the front edge of wall units to reduce reflected glare.
- Use dimming where the same kitchen is used for cooking and entertaining.
Why colour temperature can make food and finishes look wrong
Colour temperature changes how a kitchen feels and how surfaces appear. Very cool white light can make timber look flat and food look less appealing, while very warm light can make a workspace feel dull and yellow. The wrong choice is easy to spot once the sun goes down and the room is used in real conditions.
For many kitchens, a neutral white light is the safest starting point because it supports cooking, cleaning and evening use without making the space feel sterile. In coastal areas such as Durban and Umhlanga, where humidity and salt air already affect finishes over time, it also helps to choose fittings and drivers that can cope with the environment. In any case, consistency is important. Mixing several colour temperatures in one room can make the space feel uneven and a bit messy.
- Match the colour temperature across the main task areas.
- Check how cabinet colour, stone and flooring change the look of the light.
- Test samples at night and during load-shedding back-up use, if the kitchen relies on inverter or battery lighting.
Skipping control zones and dimming makes the room harder to live in
Many kitchens are wired with one switch for everything. That sounds simple, but it limits how the room can be used. A bright setting is needed for meal prep, but at supper time the same level can feel too harsh. Without separate control zones, the kitchen cannot move easily from work mode to social mode.
Lighting control should follow the room layout. The sink, counter, island and feature pendants often need separate switching or dimming. This is especially useful in family homes where children do homework at the island while someone else cooks nearby. Good control design also helps during evening power cuts, when only essential light should stay on and unnecessary fittings can be kept off to preserve battery capacity.
Practical control options include:
- Separate switches for task, general and feature lighting.
- Dimming for pendants and ambience lights at the dining edge.
- Night mode lighting for safe movement to the kettle or fridge.
- Clear labels at the switchboard so the system is easy to use for everyone in the house.
A local example from a Johannesburg kitchen upgrade
In a kitchen in Rosebank, the owners had recently installed new cupboards and a stone island, but the room still felt difficult to use after dark. The main ceiling fitting was centred in the room, which meant the prep counter along the wall stayed in shadow. On top of that, the glossy splashback sent light straight back into eye level and made evening cooking uncomfortable.
The solution was straightforward. Task lighting was added under the wall units, the island lighting was repositioned to cover the working surface properly and the control setup was split into zones. The family could now cook with clear light, then dim the room when guests arrived. Nothing about the kitchen changed structurally, but the way it functioned changed completely.
That sort of result is common when lighting is planned around daily use rather than only on appearance. A kitchen in Pretoria, Cape Town or Durban may have different finishes and different ceiling heights, but the same principles apply: cover the work, control the glare and keep the room easy to live in.
What to check before you choose new kitchen lights
If you are planning a new kitchen or updating an old one, it helps to walk through the room at night with the lights on. Stand where you usually chop vegetables, wash dishes and plate food. Look for shadows, dark corners and bright reflections on the splashback. If the room forces you to squint or lean in, the lighting plan needs work.
Before you sign off on fittings, ask these questions:
- Does every main work surface have direct task light?
- Are the fittings positioned to reduce glare on stone, glass and stainless steel?
- Can the kitchen be lit in zones for cooking, cleaning and entertaining?
- Will the lighting still be practical during a power interruption or on battery backup?
- Are the fittings suitable for the room size, ceiling height and finish colours?
A well-lit kitchen should feel clear, comfortable and easy to use from the first cup of tea to the last dish washed. When the light is planned properly, the room works better every day and the mistakes become much easier to avoid.